
theholidayspot.com
Here is a compilation of the Father's Day ideas I posted on Facebook. I have also included a super cute idea for a Father's Day card that we made at Chickfila last year. Don't forget about my Father's Day Book Share post. These books are great year-round!
I'd love to hear about which ideas you used!
I'd love to hear about which ideas you used!
Shirt and Tie Card
Supplies needed: One piece of construction paper (color of your choice), another (different color) piece of construction paper or printed paper (for the tie), glue stick, markers, brad or button and scissors
What to do:
Supplies needed: One piece of construction paper (color of your choice), another (different color) piece of construction paper or printed paper (for the tie), glue stick, markers, brad or button and scissors
What to do:
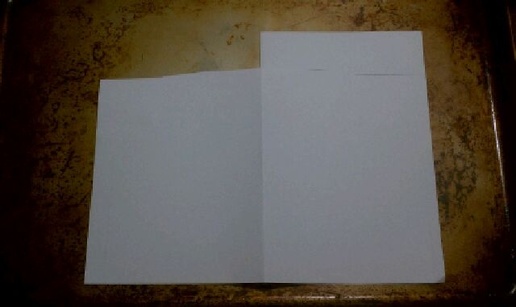
- Fold construction paper in half.
- Cut halfway across the top of the paper, being sure to stop in the middle. Do this on both sides.
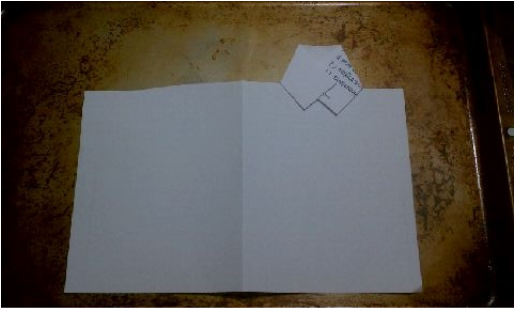
- Open up your card and cut the strip completely off the left side of the card. Your paper should look like this.
- Fold down each side of the strip to make the collar of the shirt like this. This can be a little tricky, but you can always trim it with scissors to get the look you desire. :)
- Secure the collar with a brad. If you don't have any brads, just use glue. You can always draw a button or glue one on.
- Close the card and trim the top of the card to make sure the front and the back are even.
- Draw a tie pattern (or have a template for your child to trace) on another piece of construction paper or printed paper.
- Cut out the tie and glue it onto the shirt.
- Let your child use markers to decorate the shirt.
- Don't forget to write a message inside! For those little ones who can't write yet, let them scribble inside and trace their little hand.
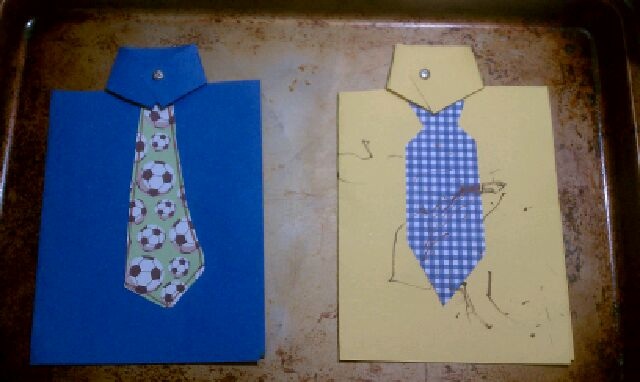
The finished product!
CRAFTS AND SUCH
Compilation of free printables from www.freehomeschooldeals.com
From www.blessedbeyondadoubt.com
RECIPES

Go Fish Cupcakes (www.clubhousejr.com)
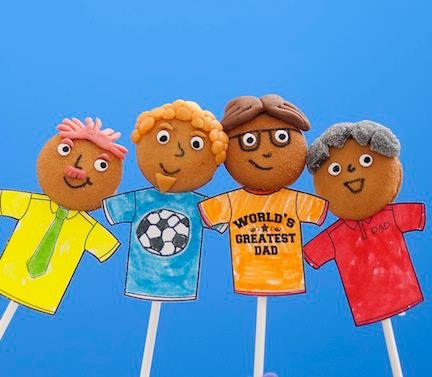
Lollypapas (www.parents.com). These are easier than you might think!
**All photos and text are property of Angela Pounders and can not be distributed without permission.
If you share one of my posts, please include a link to my page. Thanks!
 RSS Feed