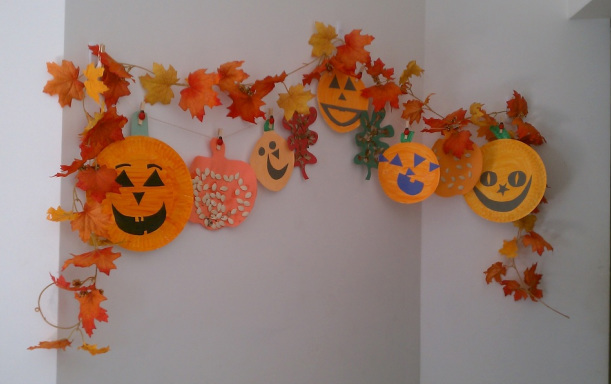
This project is really the collaboration of several projects in one. This area of the wall usually showcases some of the girls' artwork and/or seasonal decorations. We made the jack-o-lanterns last year and did the leaves and pumpkins this year. I know jack-o-lanterns are more of a Halloween thing, but aren't they cute with their smiles? Of course, you could omit the faces and just have plain pumpkins. So get ready to jazz up that boring wall for your Thanksgiving visitors with these easy projects.
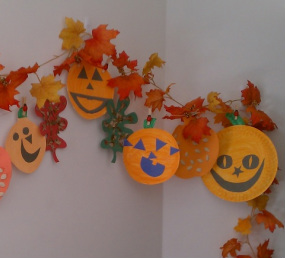
JACK-O-LANTERNS: These smiley guys are made out of paper plates. I used this project last year to teach about mixing colors. I gave my oldest daughter red paint and yellow paint and let her mix them until we got a shade of orange she liked. Everyone's pumpkin was a slightly different shade of orange. Then, we painted our paper plates. The girls got smaller "pumpkins" or the inside circle of the paper plate. Next, cut out construction paper eyes, nose and mouth (or not). Top off with a green construction paper stem and you are done.
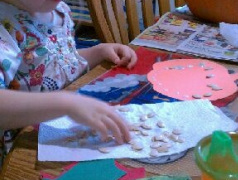
THE INSIDE OF A PUMPKIN: We did this one the day we cleaned out our pumpkins, but you could easily use pumpkin seeds bought in the snack aisle at your grocery store. I found these fun foam shapes at the Dollar Store. Of course, there was only one pumpkin so I had to trace one on orange construction paper so that I had two. :) The girls liked using "real glue" to stick and arrange their pumpkin seeds. My preschooler really had fun with this. I sat right beside my toddler while she did this project to ensure no seeds or glue were going in her mouth. She loves to do what big sister does and as long as younger siblings are supervised, I say why not? (Within reason, of course.) The pumpkins need to be dried on a flat surface and can be hung after they are completely dried.

LEAF "GLITTER" LEAVES: Saw this idea online somewhere, but can't remember where. First, give your little ones a bucket or bag and take them outside to gather some crunchy, fall leaves. The leaves can be crumbled in a Ziploc bag or taken out and crumbled over a container. I liked the container because then we could just pinch up the "glitter" and sprinkle it over our project. These shapes came in the same pack as the foam pumpkin. We squeezed glue onto the leaves and then sprinkled the leaf "glitter" until all of the glue was covered.
**All photos and text are property of Angela Pounders and can not be distributed without permission.
If you share one of my posts, please include a link to my page. Thanks!
If you share one of my posts, please include a link to my page. Thanks!
 RSS Feed