www.amazon.com
 "You're a mean one, Mr. Grinch."
"And the Grinch, with his Grinch-feet ice cold in the snow, stood puzzling and puzzling, how could it be so?
It came without ribbons. It came without tags.
It came without packages, boxes or bags.
And he puzzled and puzzled 'till his puzzler was sore.
Then the Grinch thought of something he hadn't before.
What if Christmas, he thought, doesn't come from a store. What if Christmas, perhaps, means a little bit more.”
This book was requested by Sweet Girl. It was fun to do a Christmas book when it wasn't Christmas time. I can't believe I never thought about doing something with this story around Christmas because we always watch the video. We had a lot of fun with this one!
Take it further:
Take it further:
- Do a Grinch maze.
- Work on patterns with Christmas ornaments. Cut or print a variety of ornaments out and see if your child can guess which ornament should be next. Then, let your child create his/her own patterns.
- Watch the movie and have your child draw his/her favorite scene. Ask him/her to tell you about the picture and write it down. Sweet Girl drew the picture below.
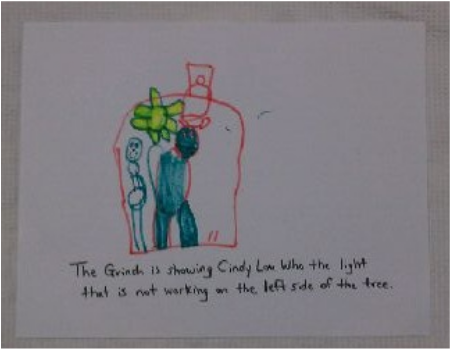
"The Grinch is showing Cindy Lou Who the light that is not working on the left side of the tree."
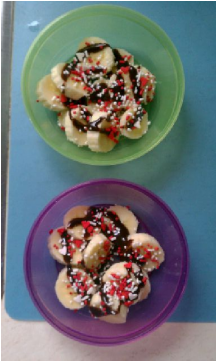 Special bananas. | 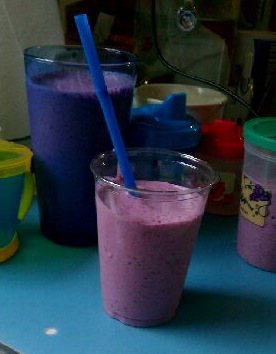 We love smoothies! |
Breakfast: We started off the morning with some special "Cat in the Hat" bananas with red and white sprinkles. We also had a yummy smoothie.
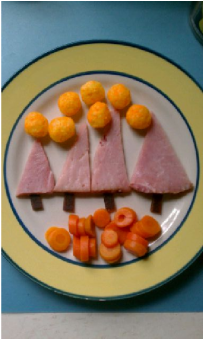 | 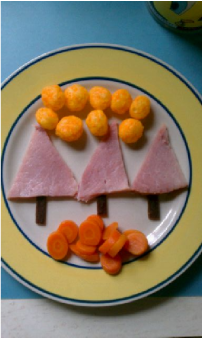 |
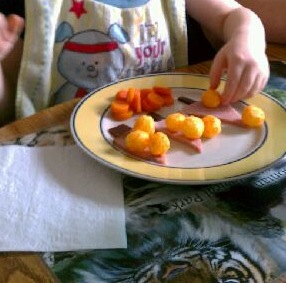
Sweet Girl using the cheese balls as ornaments for the trees.
Lunch: I used some leftover ham to cut out triangle shapes for Christmas trees. I cut up a fruit strip for the trunks. Carrots made for the forest ground and the cheese balls were the "stars" according to Sweet Girl. Again, this was just the presentation plate. Cheese and fruit were on the side.
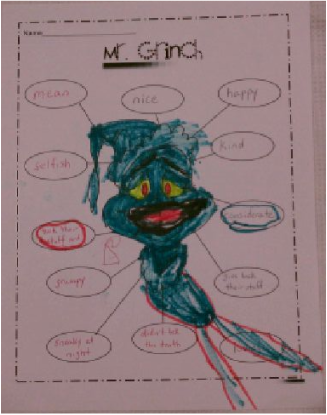
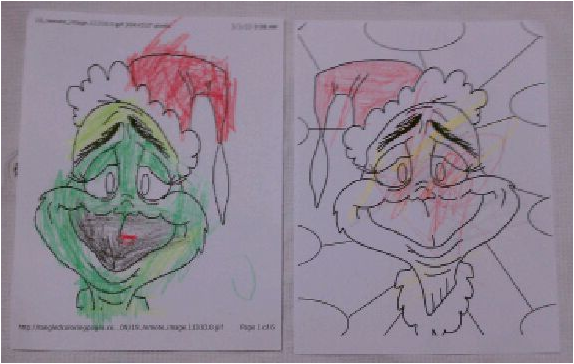
The Grinch: Before and After activity
Sweet Girl and I did this activity while Love Bug napped. We used this sheet to get started. We talked about what the Grinch was like before his heart grew. She did a pretty good job coming up with adjectives to describe him. Then, we talked about what the Grinch was like after his heart grew. I wrote the "bad" characteristics in red and the "good" ones in black. Sweet Girl colored in the picture of the Grinch (and gave him a body!) after we were done.
I liked this activity because it got us thinking and talking about the movie. Now that Sweet Girl is older and can communicate really well, I can see us doing more of these type of activities.
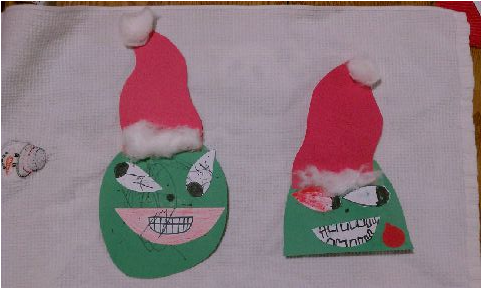
Love Bug (R) and Sweet Girl (R) did awesome jobs on their Grinch faces! I love the teeth on Sweet Girl's Grinch!
Craft: Grinch Face
I was really pleased with the way these turned out. They have such character! I got this idea from kiboomukidscrafts.com There's no set template which is great because they don't look like cookie cutter Grinches. :)
Supplies needed: Green and red construction paper, white paper, scissors, black marker, red and yellow crayons, glue stick, cotton balls
What to do:
- Draw and cut out a round-shape from green construction paper for The Grinch’s head.
- Next, draw and cut out a half-circle from white paper for the mouth.
- Use a black marker to draw teeth.
- Use crayons to color red lips and yellow teeth, if desired.
- Then, draw and cut out two tear-drop eyes from white paper.
- Use a black marker to add black pupils on the eyes.
- Glue the eyes and mouth onto the The Grinch’s face.
- Use a black marker to add eyebrows and a nose onto The Grinch’s face.
- Then, draw and cut out a Santa’s hat from red construction paper.
- Glue the hat to The Grinch's head.
- Add cotton balls to the rim of the hat and one at the top of the hat.
- Now you have your own Grinch face!
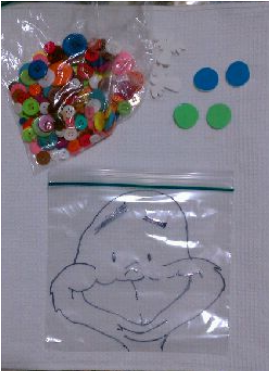 Supplies minus soap. | 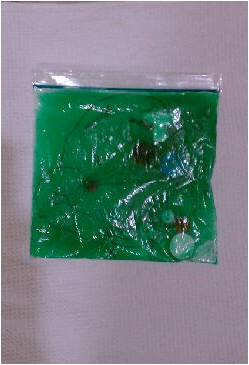 Completed Grinch Goo Bag. | 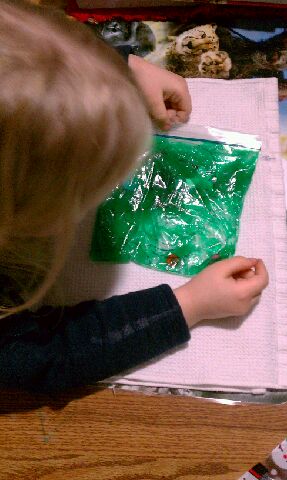 Sweet Girl playing with the goo. |
Activity: Grinch Goo Bag
I was so excited when I came across this idea on Growing a Jeweled Rose's website! We had to improvise with what we had because I totally found this activity by accident. We used liquid bathroom soap because it was the closet thing we had to hair gel, but it worked out fine!
Supplies needed: A zip-lock bag, green food coloring, craft foam, buttons, a permanent marker, clear hair gel and packaging Tape or Duct Tape
What to do:
*This is an activity that should be done with adult supervision. There are small objects in the bag and the soap/gel should not be ingested. We did have a bag get a small hole in it. I suggest playing with the bag at the table or kitchen floor--not on the carpet!
After the project:
I was so excited when I came across this idea on Growing a Jeweled Rose's website! We had to improvise with what we had because I totally found this activity by accident. We used liquid bathroom soap because it was the closet thing we had to hair gel, but it worked out fine!
Supplies needed: A zip-lock bag, green food coloring, craft foam, buttons, a permanent marker, clear hair gel and packaging Tape or Duct Tape
What to do:
- Draw the face outline of the Grinch on the ziploc bag using the permanent marker. I put a picture behind the bag and traced it.
- Cut Grinch face shapes from craft foam. (See link for more details.)
- Put foam shapes and buttons (we added these to add to the sensory experiences) in the ziploc bag.
- Fill the bag with one bottle of clear hair gel.
- Add a few drops of green food coloring and mix well.
- Then just seal the bag and secure the end with packaging tape.
- Let your child squish the gel and try to move the face shapes to line them up with the Grinch's face.
*This is an activity that should be done with adult supervision. There are small objects in the bag and the soap/gel should not be ingested. We did have a bag get a small hole in it. I suggest playing with the bag at the table or kitchen floor--not on the carpet!
After the project:
- Hair gel would definitely be more cost-effective as I had to use a lot of the bathroom soap to fill our bags.
- Younger children will not grasp the concept of moving the face pieces to the correct place on the Grinch's face.
- It would be fun to add large glitter to the bag.
- The permanent marker wore off very quickly and we just ended up with a bag of green goo with no face. The girls still had fun with it though.
- There are a ton more sensory bag ideas and messy projects on Growing a Jeweled Rose's web page.
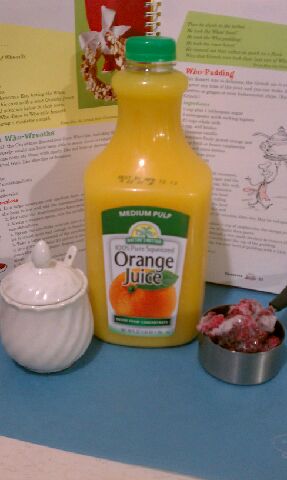 Simple sauce ingredients. | 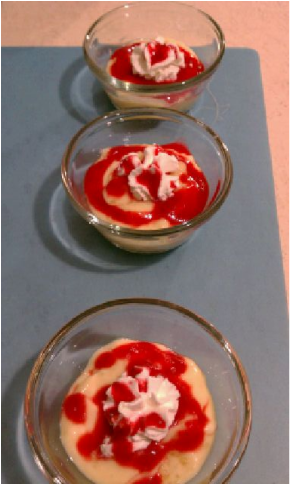 Who-pudding is served. |
Grinch Recipe: Who-Pudding
We ended the night with this yummy recipe came from the Green Eggs and Ham Cookbook my husband checked out at the library. We "cheated" and used store bought tapicoa pudding, but used their recipe for the sauce. Below is the entire recipe.
Who-Pudding How To
Ingredients:
Supplies needed: measuring cups and spoons, grater, bowl, fine strainer, bowl, medium saucepan, mixing spoon, fork, stove top, blender, serving dishes and spoons
What to do:
Makes 4-6 servings. The sauce keeps well in the refrigerator is you don't use it all.
We ended the night with this yummy recipe came from the Green Eggs and Ham Cookbook my husband checked out at the library. We "cheated" and used store bought tapicoa pudding, but used their recipe for the sauce. Below is the entire recipe.
Who-Pudding How To
Ingredients:
- 1/2 cup plus 1 Tbs sugar
- 3 Tbs quick-cooking tapioca
- 2 3/4 cup whole milk
- 1 egg (well beaten)
- 1 tsp vanilla
- 1 tsp finely grated orange zest
- 1/2 cup fresh or frozen raspberries plus 6 extra berries
- 1/4 cup orange juice
- whipped cream
Supplies needed: measuring cups and spoons, grater, bowl, fine strainer, bowl, medium saucepan, mixing spoon, fork, stove top, blender, serving dishes and spoons
What to do:
- In a medium saucepan, combine 1/2 cup of sugar and the tapioca, milk and egg.
- Mix well and let stand for five minutes.
- Place over medium heat and bring to a full, rolling boil.
- Remove from heat and stir in the vanilla and orange zest.
- Cool for 20 minutes, then stir. May be refrigerated and served chilled.
- In a blender (or mini food processor), combine 1/2 cup of raspberries, the orange juice and the remaining tablespoon of sugar and puree.
- Pour the puree through a fine mesh strainer to remove the seeds. (If puree is a bit tart, add a little bit of sugar and mix again.)
- Dish out servings of the pudding.
- Use a spoon to drizzle the sauce in swirls over the top of the pudding.
- Just before serving, top each bowl off with some whipped cream and a berry.
Makes 4-6 servings. The sauce keeps well in the refrigerator is you don't use it all.
The Grinch after his heart grew. Sweet Girl (L) and Love Bug (R)
**All photos and text are property of Angela Pounders and can not be distributed without permission.
If you share one of my posts, please include a link to my page. Thanks!
 RSS Feed