This was a new book to us this year. I love the lesson that it teaches. It's fun and even funny to think about what it would be like if we could do things like animals or even other people can do. However, God has made us all special and we all can do something well just the way we are. At the end of the book, the boy realizes that he's just going to be himself. What a great message to send children.
I couldn't find much online when prepping for this book. It doesn't help that the Seussville site has been down ever since I started planning for this unit.
Take it further:
I couldn't find much online when prepping for this book. It doesn't help that the Seussville site has been down ever since I started planning for this unit.
Take it further:
- Talk and learn about the different animals in the story. What are some other characteristics that make these animals well-suited for the lives they live?
- Gather all of your animal dress up things and let your child create his/her own Which-What-Who. Ask him/her to explain why he/she picked out the items he/she is wearing.
- Ask your child what are some things about him/her that make him/her special. What is something your child can do well...just the way he/she is?
We started off the day with a duck coloring sheet while I fixed breakfast--which was nothing special. :)
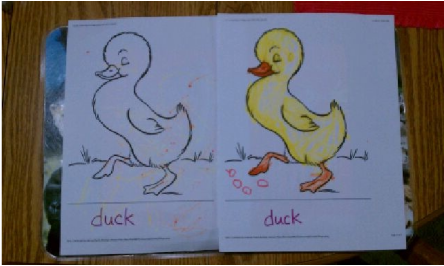
Love Bug used a light yellow. Sweet Girl even added some duck food.
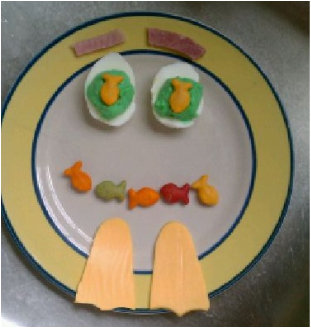
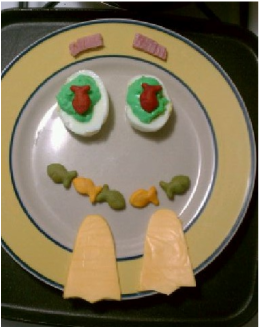
Lunch: I knew I wanted to do cheese duck feet, but wasn't sure what else I would do for the girls' lunch. I traced our Dora the Explorer's flippers (a bath toy Sweet Girl got from Shaba Girl) on a slice of cheese with a sharp knife. They turned out so cute!
We had some extra deviled eggs and ham left over, so I created these fun little duck faces. I've been loving the rainbow colored Goldfish lately. You can do so much with them! Note: This plate was just for presentation. The girls had more food on the side. :)
We had some extra deviled eggs and ham left over, so I created these fun little duck faces. I've been loving the rainbow colored Goldfish lately. You can do so much with them! Note: This plate was just for presentation. The girls had more food on the side. :)
 |  |
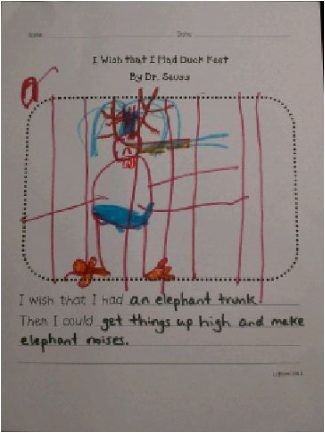
Literacy Activity: I used this writing prompt with Sweet Girl while Love Bug napped. While Sweet Girl may not be writing a lot of words yet, I think writing prompts are good for even young children. Sweet Girl is able to communicate what she is thinking and then I do the writing for her. She watches me write and is able to see how the words are formed and come together as a sentence. And of course, Sweet Girl draws awesome pictures!
This is the Which-What-Who in the zoo cage. Notice that he is sad?
 source: Green Eggs and Ham Cookbook
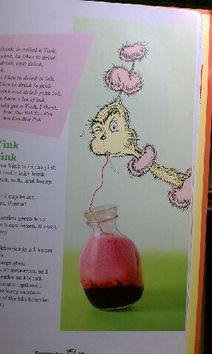
 Pink Ink Drink
This doesn't go with this book, but with One Fish, Two Fish, Red Fish, Blue Fish. It was just something fun to add to the day. This drink is healthy and very easy to make. We had it for snack after quiet time before we started our craft.
This recipe is from the Green Eggs and Ham Cookbook my husband checked out for me at the library. We did not thaw the berries ahead of time. I pureed the blackberries and let them sit a bit before putting the drink together. Frozen or thawed ingredients, this drink is yummy. The blackberries are "seedy" so you could strain the mixture if you don't like having to chew your drink!
Your child can help with washing the fruit (if fresh), measuring the ingredients and adding them to the blender. Sweet Girl loves getting eye level to the measuring cup and telling me "STOP!" when I get to the right amount.
Pink Ink Drink Recipe
Ingredients: 1/2 pint fresh or 1/2 cup frozen blackberries (thawed), 1 cup milk, 6 fresh strawberries with the green removed or 1/2 cup frozen (thawed), 1 teaspoon honey
Supplies needed: blender (I used a mini food processor for the blackberries and a blender for the drink part), spoon, clear cups for serving, straws
What to do:
*This recipe says it serves one, but we each got a nice serving out of it.
*Hint: If the blackberries are still a bit frozen, they will make a better base for your drink.
This doesn't go with this book, but with One Fish, Two Fish, Red Fish, Blue Fish. It was just something fun to add to the day. This drink is healthy and very easy to make. We had it for snack after quiet time before we started our craft.
This recipe is from the Green Eggs and Ham Cookbook my husband checked out for me at the library. We did not thaw the berries ahead of time. I pureed the blackberries and let them sit a bit before putting the drink together. Frozen or thawed ingredients, this drink is yummy. The blackberries are "seedy" so you could strain the mixture if you don't like having to chew your drink!
Your child can help with washing the fruit (if fresh), measuring the ingredients and adding them to the blender. Sweet Girl loves getting eye level to the measuring cup and telling me "STOP!" when I get to the right amount.
Pink Ink Drink Recipe
Ingredients: 1/2 pint fresh or 1/2 cup frozen blackberries (thawed), 1 cup milk, 6 fresh strawberries with the green removed or 1/2 cup frozen (thawed), 1 teaspoon honey
Supplies needed: blender (I used a mini food processor for the blackberries and a blender for the drink part), spoon, clear cups for serving, straws
What to do:
- Put the blackberries in a blender and puree them.
- Strain the mixture, if desired.
- Pour into a large glass. (Since our blackberries were not thawed, I had to add a bit of water to the mixture and then spooned it into the bottom of the cups.)
- Wash out blender. (This is why I used the mini food processor!)
- Put the milk, strawberries and honey into the blender and blend.
- Strain the mixture, if desired. (Strawberries are "seedy" too, but we don't mind them.)
- Carefully pour the strawberry mixture on top of the blackberries.
- Serve with a straw.
*This recipe says it serves one, but we each got a nice serving out of it.
*Hint: If the blackberries are still a bit frozen, they will make a better base for your drink.
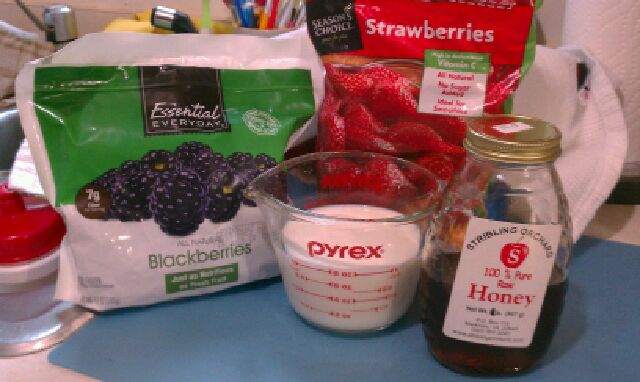 Simple, healthy ingredients. 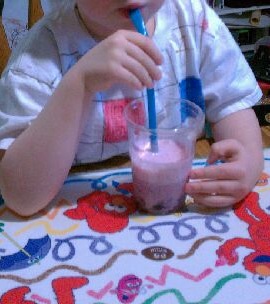 Sweet Girl taking a sip. | 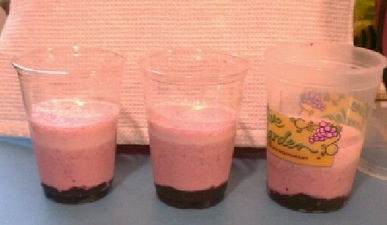 Our pink ink drinks. 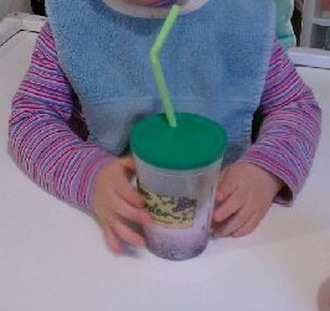 Love Bug was all smiles after she tasted it. |
Craft #1: Which-What-Who Face
I came up with this super-easy craft because I thought it would be great for Sweet Girl to have more scissor practice, Love Bug just loves using the gluestick and I thought the results would be cute! Plus, the possibilities are endless on what you can make! My favorite part are the owl eyes.
I already had the trunk pattern and just did an image search online for the other parts. I thought having some things printed in color and some things that had to be colored in kind of mixed it up a bit. The girls could also add their own details with markers. Add a stick and it becomes a mask!
We just did a face, but you could do an entire Who-What-Who body! These are so fun to create, you will probably will want to make more than one.
Which-What-Who How To
Supplies needed: Paper plate or cut a circle from construction paper, a variety of animal body parts (ears, eyes, nose, mouth), scissors, gluestick, markers
What to do:
- Print out pictures of animal body parts.
- Cut out pictures of animal body parts.
- Glue the animal parts on the paper plate to create a face.
- Use markers to add more details (eyelashes, eyebrows, teeth, hair, etc).
- Now you have a Which-What-Who!
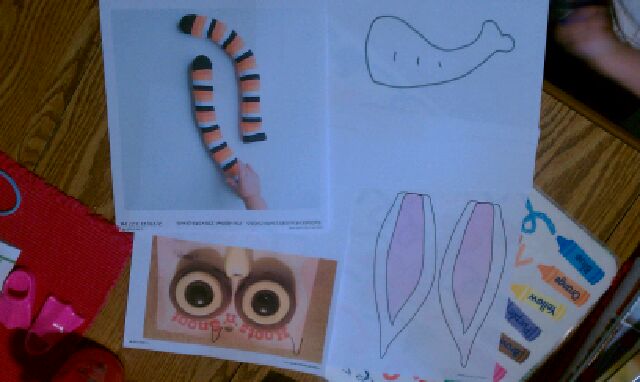 Print outs of body parts | 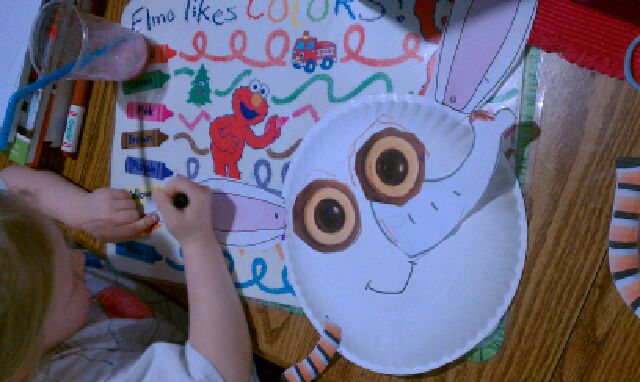 Sweet Girl working on her project. |
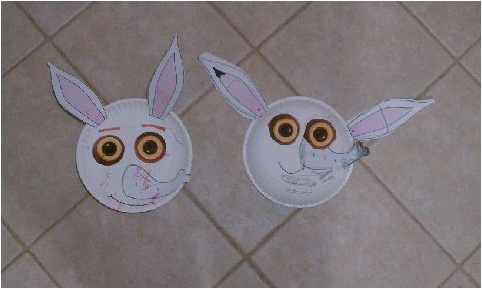
Two Which-What-Whos on the floor! {Love Bug-L and Sweet Girl-R}
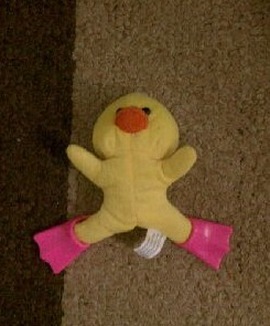 Sweet Girl gave this duck some duck feet!
 Craft #2: Duck Feet
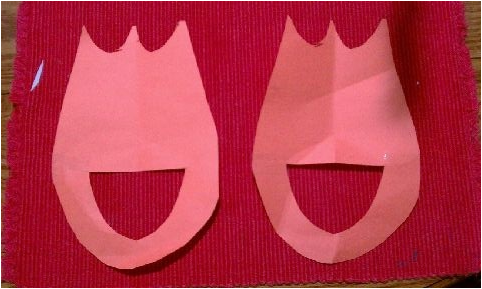
I found this super-cute idea on Ten kids and a Dog blog. I didn't have any orange foam, so I used construction paper. They served their purpose, but didn't hold up well and needed a lot of taping. It's hard to walk around with duck feet!
Supplies needed: Orange foam and scissors
What to do:
I found this super-cute idea on Ten kids and a Dog blog. I didn't have any orange foam, so I used construction paper. They served their purpose, but didn't hold up well and needed a lot of taping. It's hard to walk around with duck feet!
Supplies needed: Orange foam and scissors
What to do:
- Cut a duck foot pattern that is a little longer than your child's foot.
- Cut out two duck feet.
- Cut a half circle out near the heel of each foot.
- Slip them on and waddle around.
Ready for waddling!
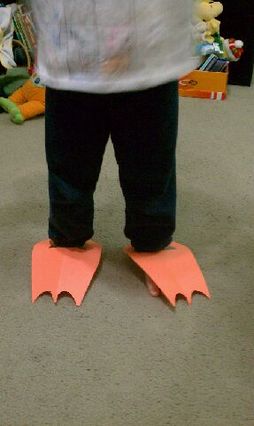 Sweet Girl just loved them! | 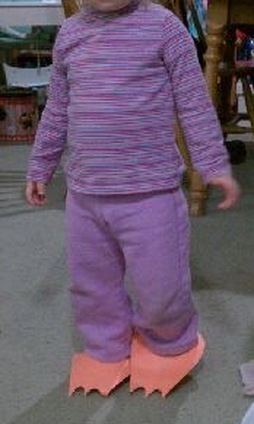 Love Bug thought they were a lot of fun, too! |
Dinner: In keeping with the "if I had animal body parts theme," I made butterfly grilled cheese sandwhiches. I cut the bread before I buttered and cooked it. I figured it would be less messy that way. I even used the butterfly sandwhich cutter on the cheese. The girls also had Cheetos (a special snack), carrots with coconut (the girls' new fave thing) and pineapple or a fruit twist. I think it's good to shake things up a bit by serving foods that may be designated for specific meals at different times.
While we ate, we talked about what would be good about having butterfly wings (and other animals' parts) and what would not be so good about it. We also talked about being happy with who you are and how God made you.
While we ate, we talked about what would be good about having butterfly wings (and other animals' parts) and what would not be so good about it. We also talked about being happy with who you are and how God made you.
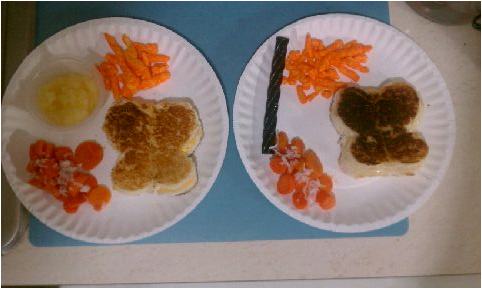
Simple, but yummy dinner.
**All photos and text are property of Angela Pounders and can not be distributed without permission.
If you share one of my posts, please include a link to my page. Thanks!
 RSS Feed