Last Week's No-Bake Cookie Exchange
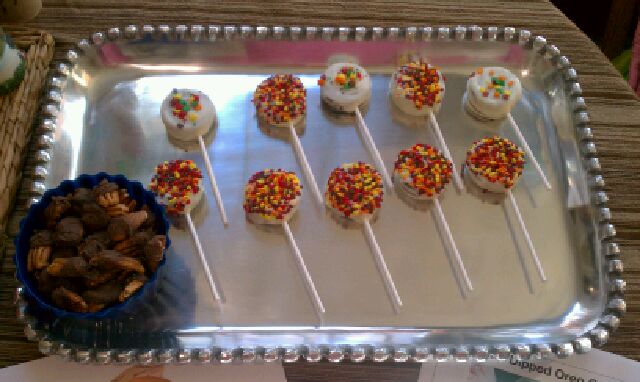
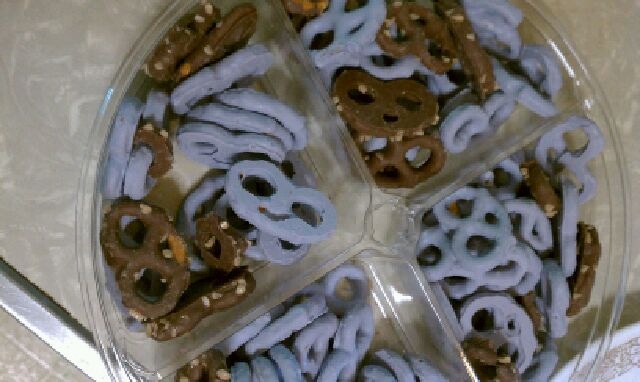
My chocolate-covered Oreo pops and Sweet Girl's nuts.
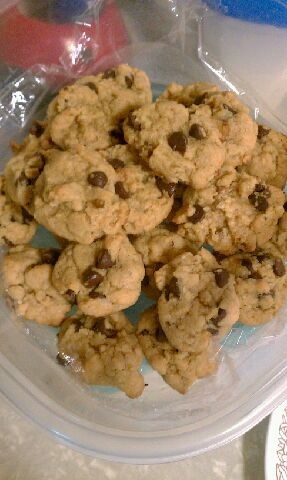
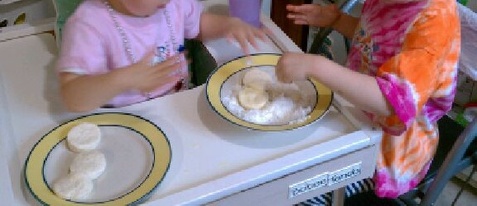
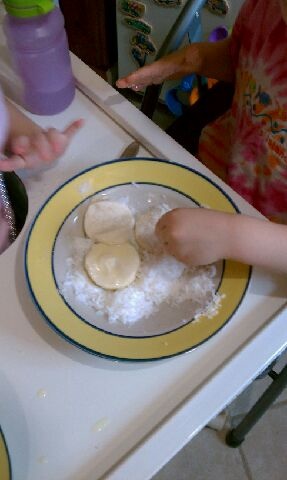
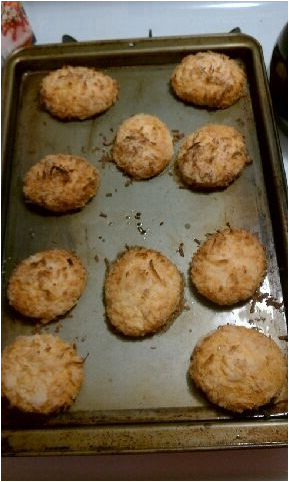
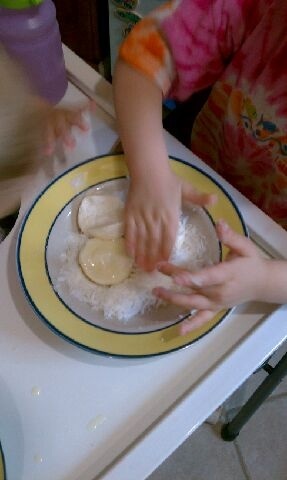
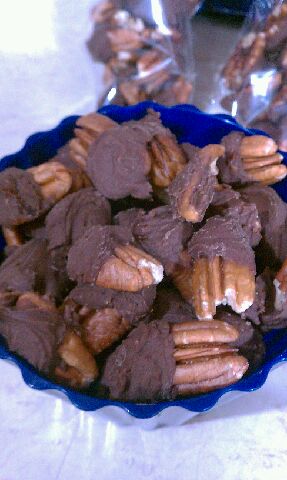 Sweet Girl's own recipe: Chocolate Peanut Butter Nuts. | 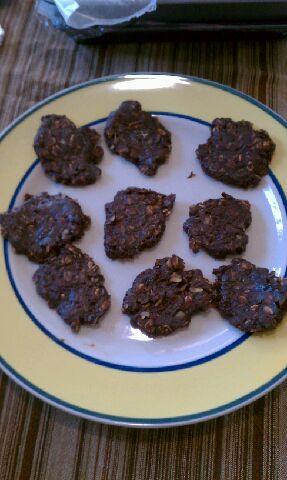 Miss I's chocolate oatmeal cookies. |
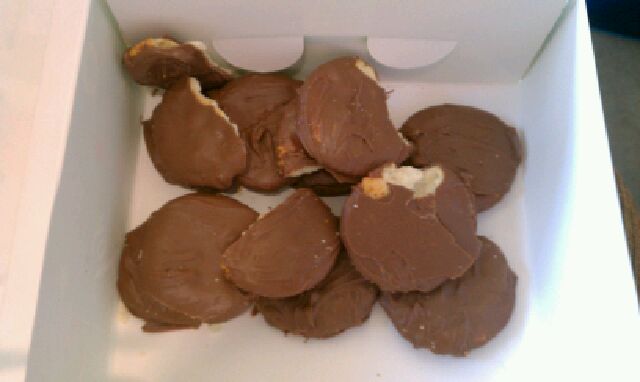
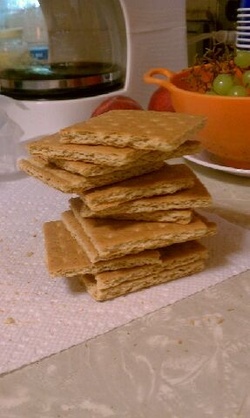
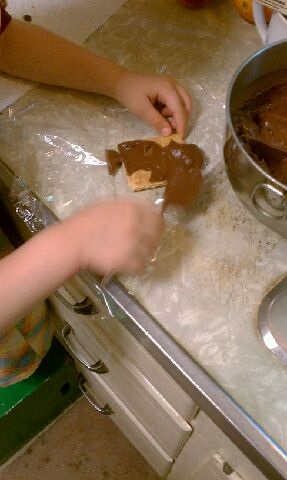
Miss J's Thin Mints used Ritz crackers!
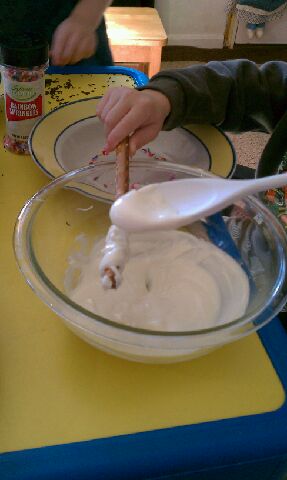 Miss J's son covering his pretzel stick. | 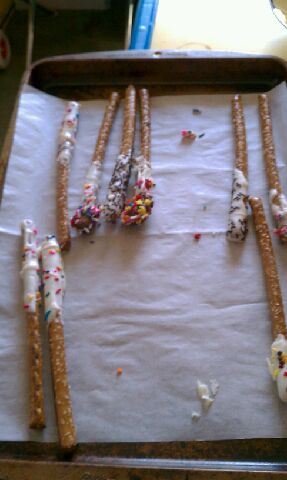 The children enjoyed making and eating their pretzel rods! |
**All photos and text are property of Angela Pounders and can not be distributed without permission.
If you share one of my posts, please include a link to my page. Thanks!


 RSS Feed