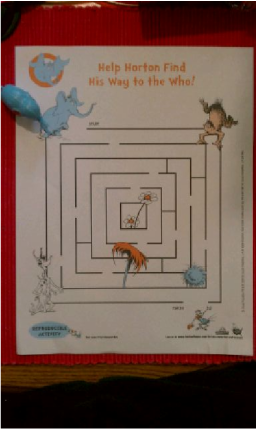
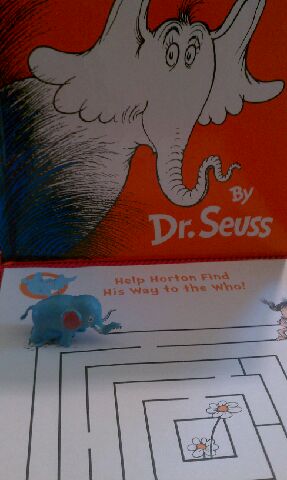
 www.play.google.com
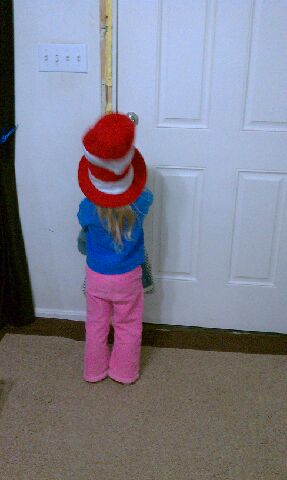
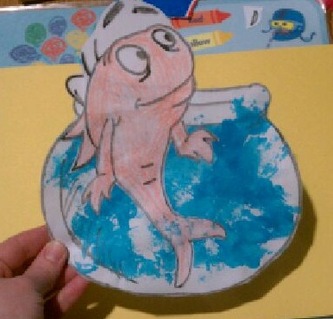
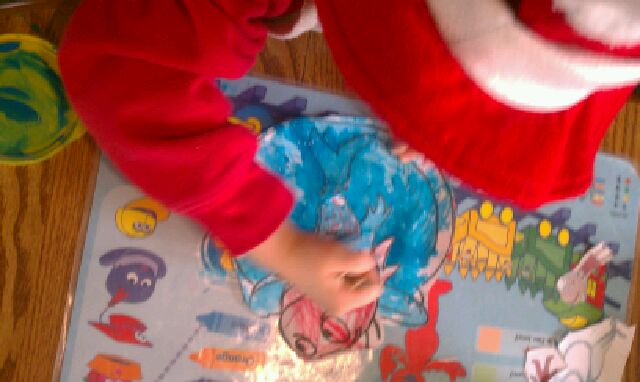
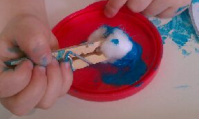
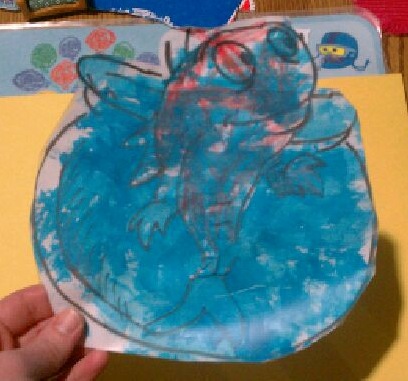
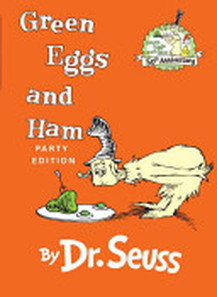
 Our main focus was Green Eggs and Ham, but we also did some wacky things in honor of Seuss' Wacky Wednesday book.
We started off the morning with a patterns sheet for Sweet Girl and a coloring sheet for Love Bug to work on while I got their wacky breakfast together.
We started off the morning with a patterns sheet for Sweet Girl and a coloring sheet for Love Bug to work on while I got their wacky breakfast together.
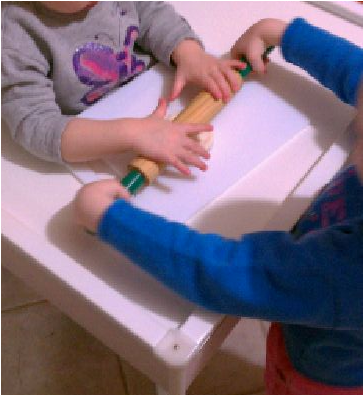
Sweet Girl cut out the pictures and picked the next picture for each pattern.
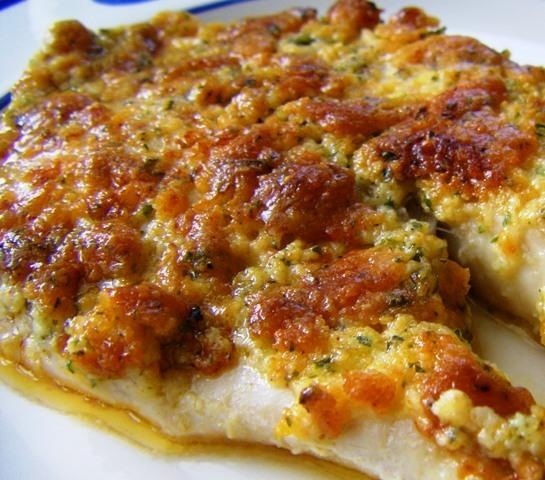
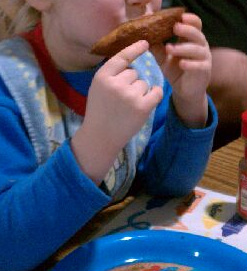
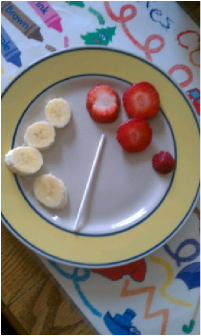
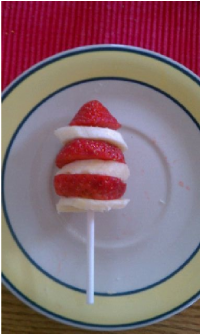
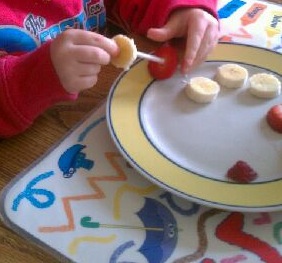
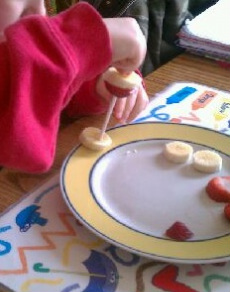
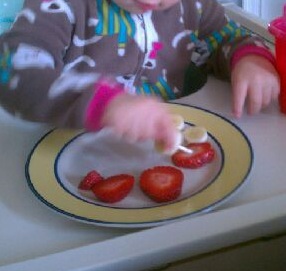
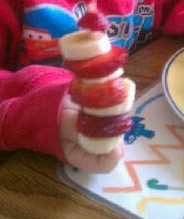
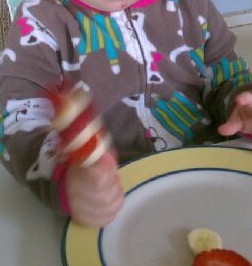
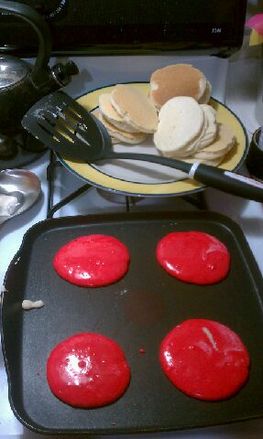
Breakfast: I surprised the girls with Cat in the Hat fruit kabobs again. Note to self: Do more food on sticks! Since we were having a late breakfast, I just gave them some yogurt with sprinkles, a few chocolate chips and here comes the wackiness....a cupcake! I knew they would just probably lick the frosting off, so I just put a thin layer on. They were really surprised to see "a cupcake for breakfast!?"
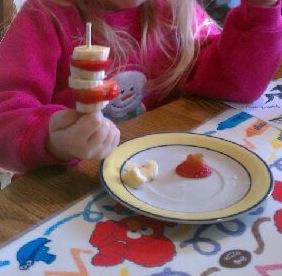 Sweet Girl with her kabob. | 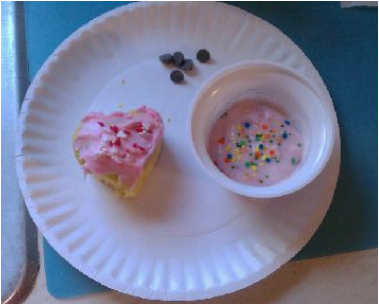 Wacky Breakfast! |
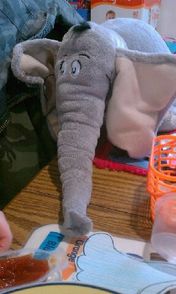
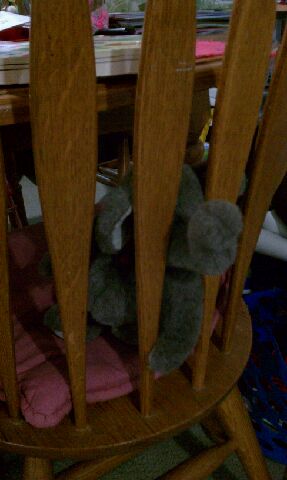
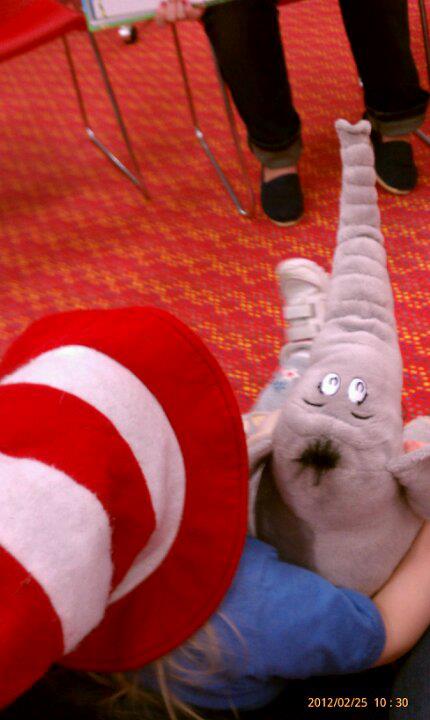
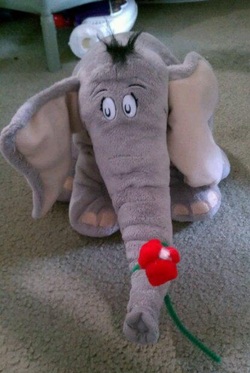
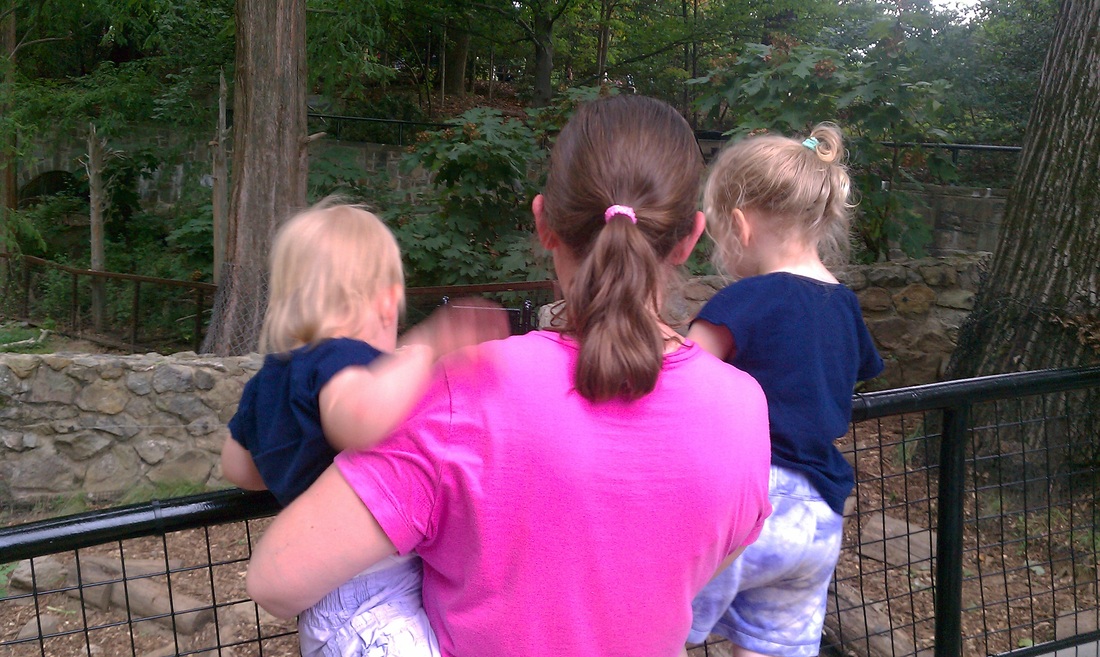
Elephant Walk: We hadn't been outside, let alone for a walk, in a while since we've been taking turns being sick. Sweet Girl really wanted to take the elephants, Horton and Morton, for a walk. The girls started off in the backyard, but I thought they'd have more fun going for a walk. We only brought one stroller with us and took turns because I didn't want to end up pushing a stroller! The girls had so much fun enjoying the sunshine and seeing the neighborhood. One of our neighbors even asked Love Bug if she was taking her elephant for a walk.
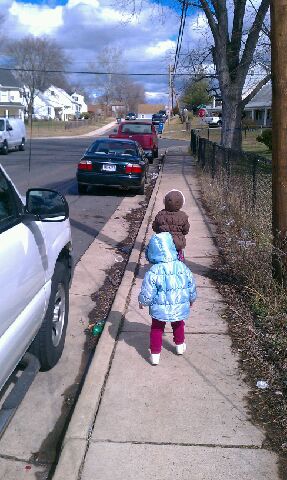 Follow the leader. | 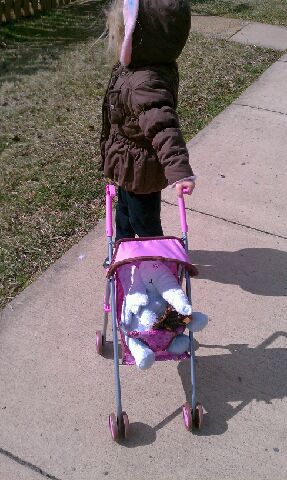 Morton was the lucky one to go for a walk. (Sweet Girl) |
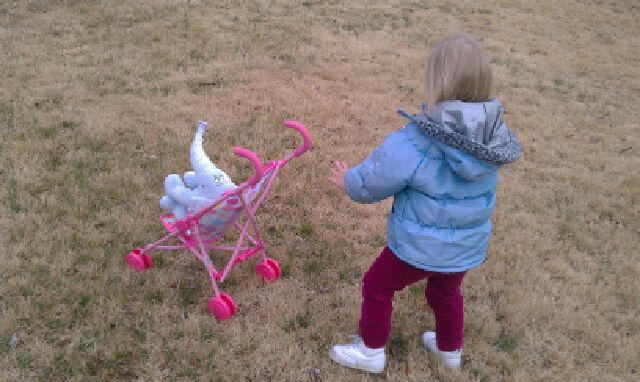
Love Bug with Morton in the other stroller.
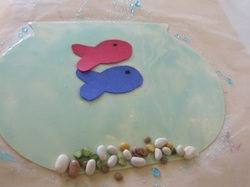
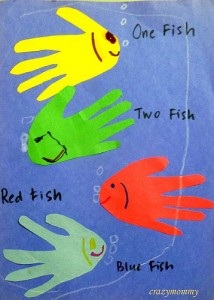
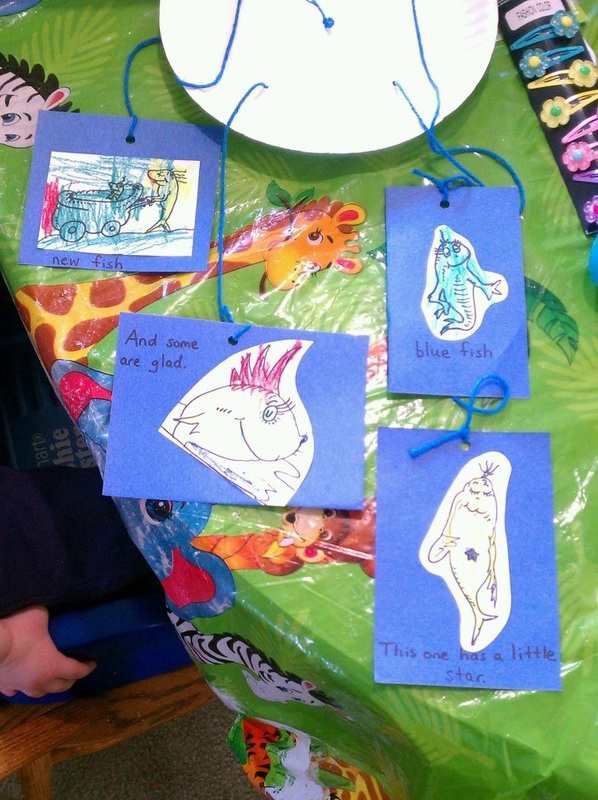
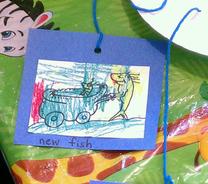
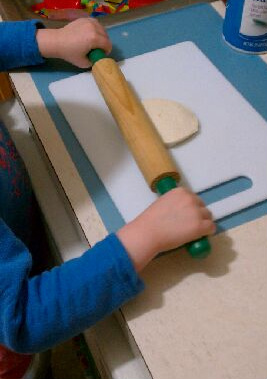
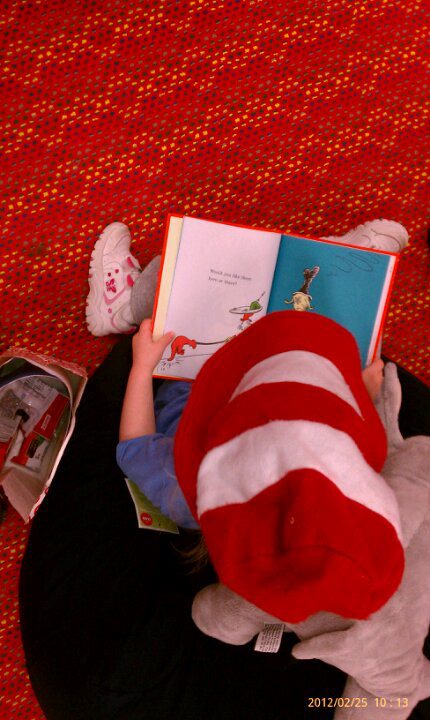
Green Egg and Ham Activities: Sweet Girl did both of these during the day. We also watched Green Eggs and Ham on YouTube.
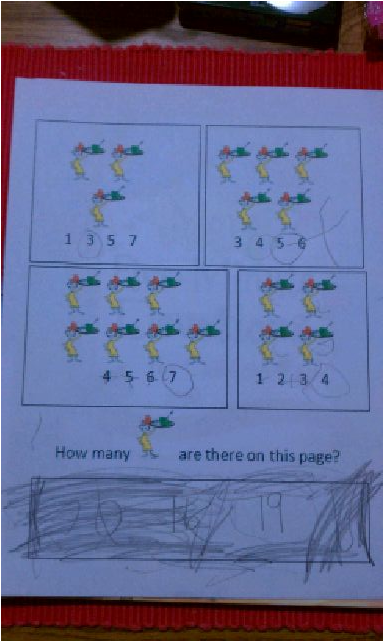 Counting worksheet | 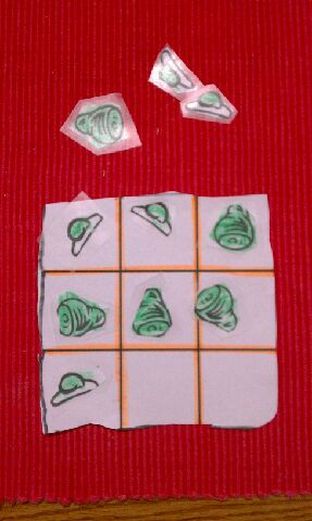 Sweet Girl colored and cut out this cute tic-tac-toe set. |
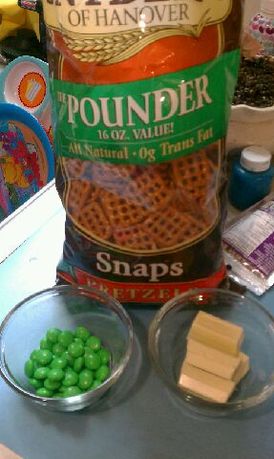
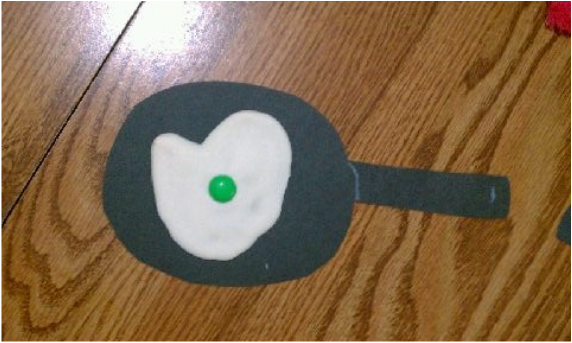
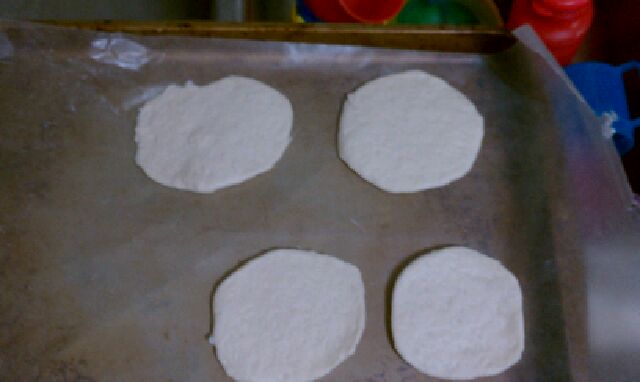
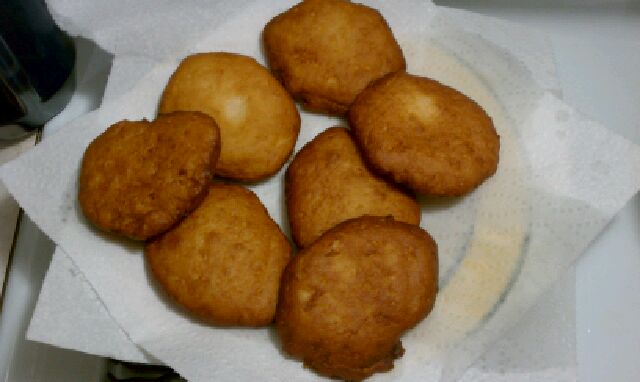
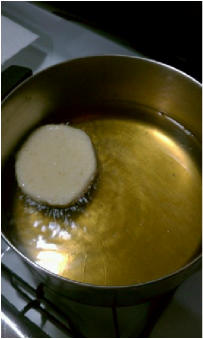
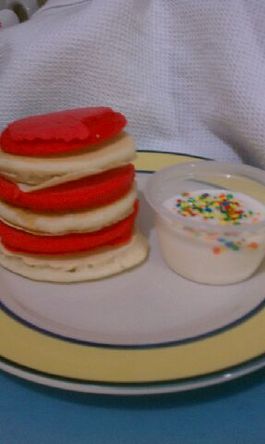
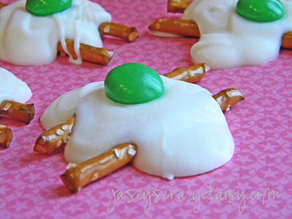
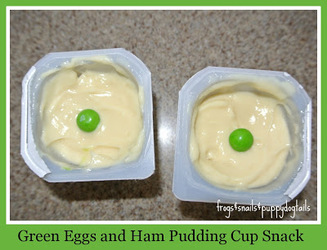
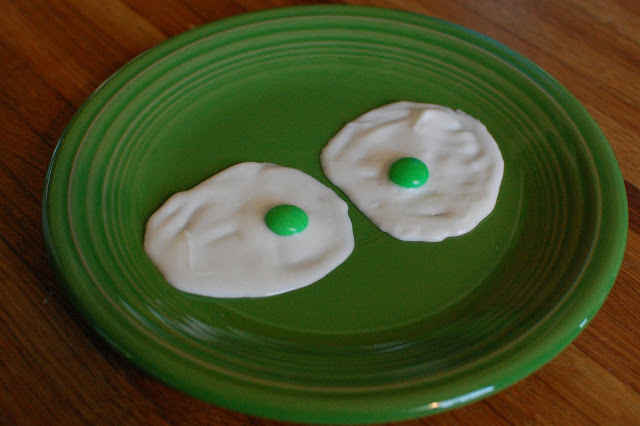
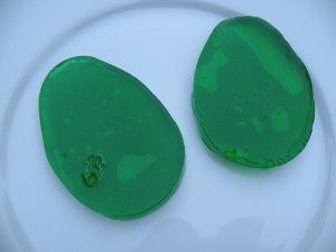
Green Eggs and Ham Pretzel Treat and Eggs: This is a take on one of the recipes on my Green Eggs and Ham post. We made these after our walk. This was my first time using melted chocolate and not chocolate wafers. The wafers seem to set quicker and I like them because the girls can help put them on the pretzels. They can't really help with the melted chocolate. With the extra chocolate, I made some free-hand egg shapes.
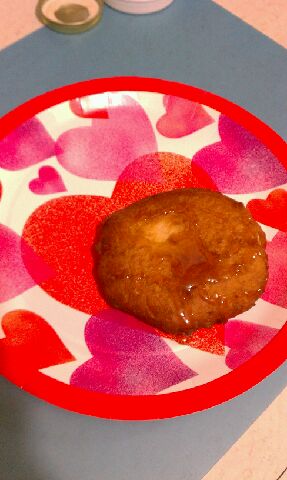
All day I had this idea that I was going to serve the treats on little construction paper frying pans. I almost didn't do it because dinner had been a little late and I just wanted to give the girls their treat. I'm glad I took a minute (less actually) to cut out frying pans for the girls. The presentation was too cute! Sweet Girl even cut out more frying pans for the next day's treat.
All day I had this idea that I was going to serve the treats on little construction paper frying pans. I almost didn't do it because dinner had been a little late and I just wanted to give the girls their treat. I'm glad I took a minute (less actually) to cut out frying pans for the girls. The presentation was too cute! Sweet Girl even cut out more frying pans for the next day's treat.
 Easy ingredients. 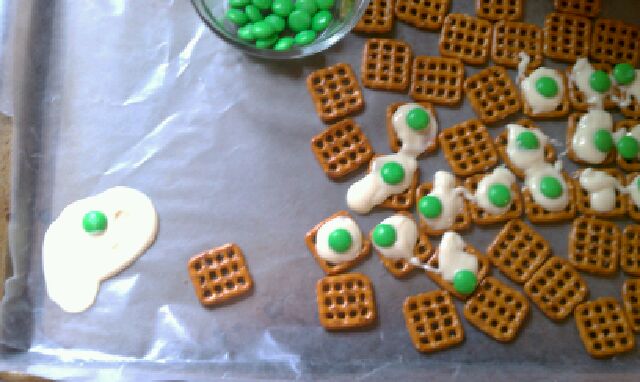 In process. 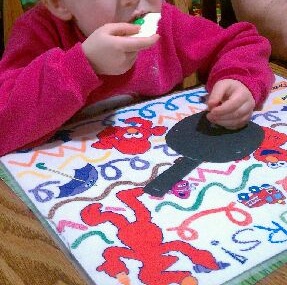 Sweet Girl with her egg. | 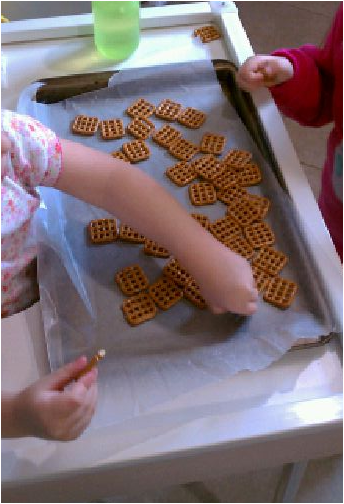 Laying out the pretzels.  All done and ready to set. 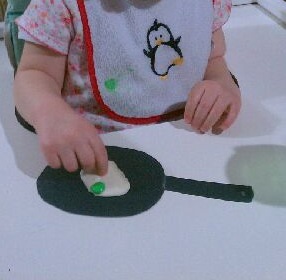 Love Bug taking it slow. She did like it. |
How fun is this?!
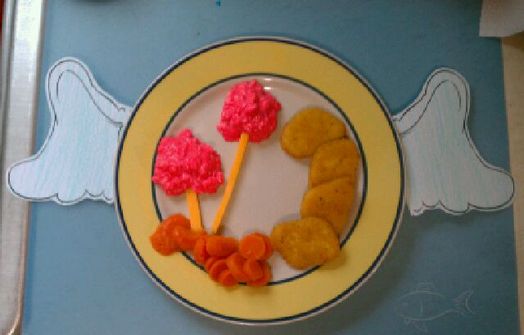
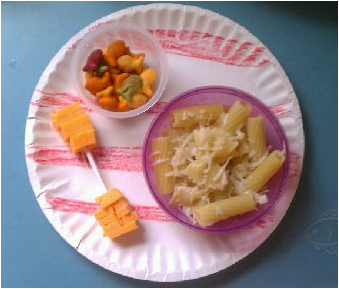
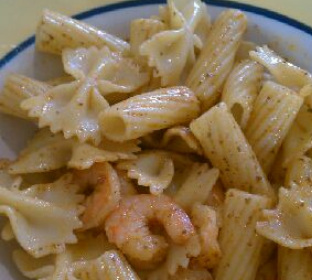
Lunch: I used some of their lunch to make a funny face. The girls enjoyed the delivery of their plates. This wasn't their entire lunch, they had a bowl of pasta and fruit on the side!
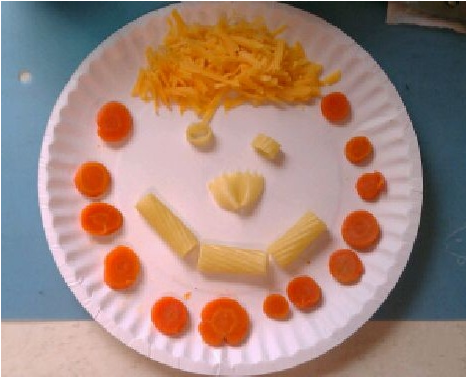
Funny face!
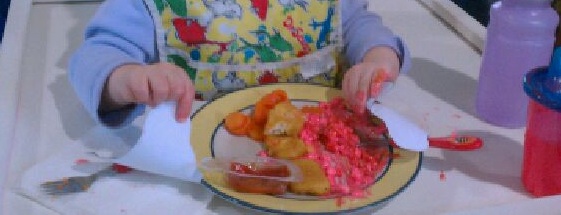
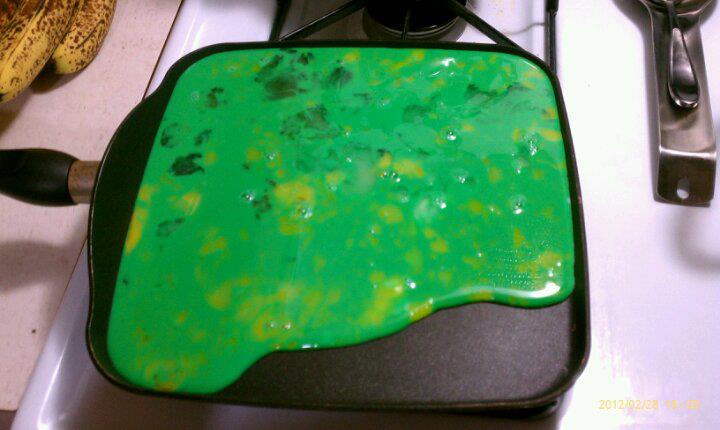
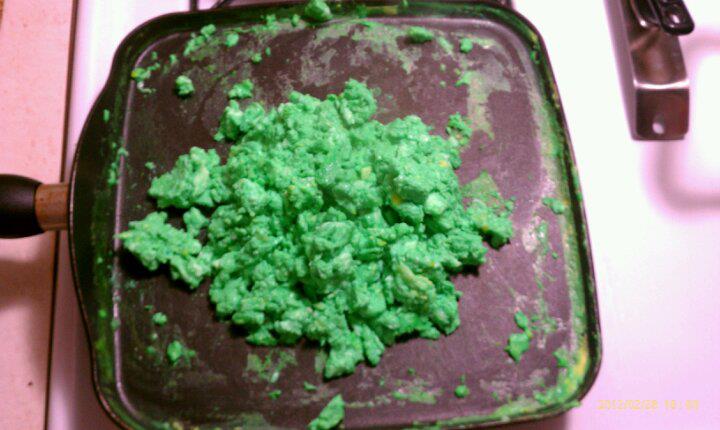
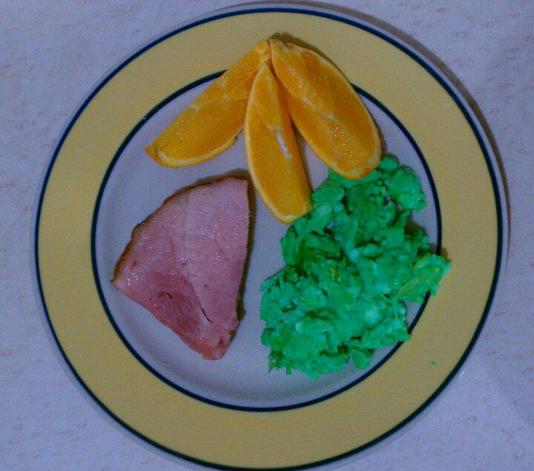
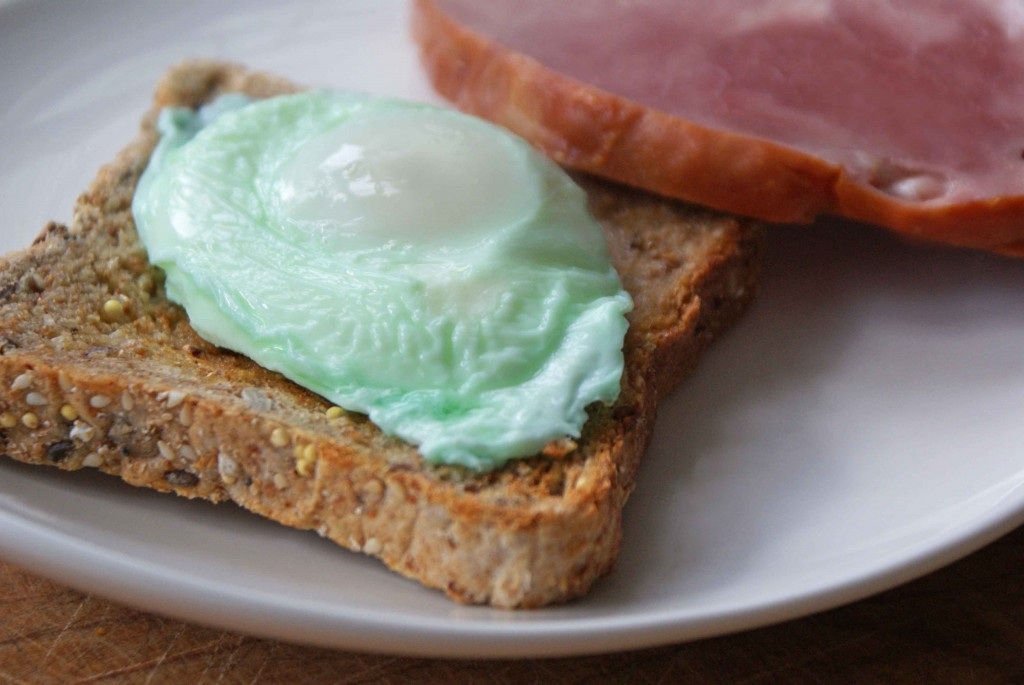
Dinner: What everyone had been waiting for! I decided to do green deviled eggs for something different this year. Let me tell you, scrambled eggs were much easier! My husband bought a large ham that was already cooked, so I heated up some ham to go with our eggs. (Veggies were served on the side.) The girls really enjoyed the eggs (they usually do), but my hubby said he wasn't sure he could eat the green eggs (just because of the color, but he ate them though!
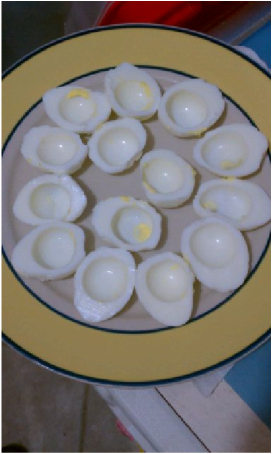 Prepping these were a labor of love. 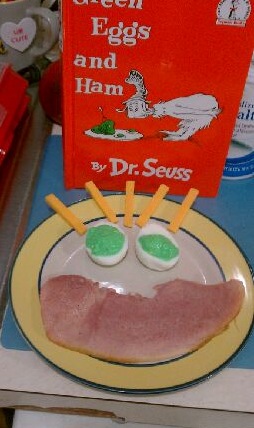 Green eggs+ham+cheese sticks = Funny face 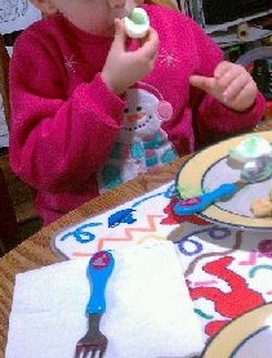 Sweet Girl digging in. | 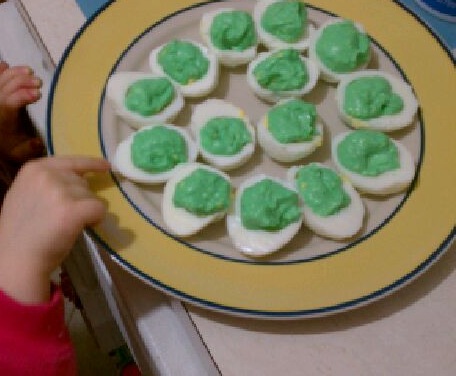 Sweet Girl eager to taste them. 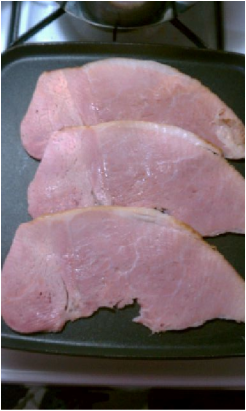 This was some good ham. 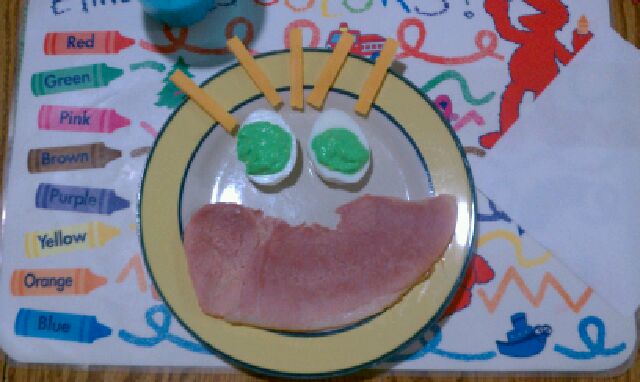 Dinner is served. 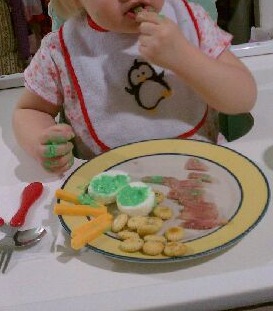 Love Bug was a hands-on eater that night! |
**All photos and text are property of Angela Pounders and can not be distributed without permission.
If you share one of my posts, please include a link to my page. Thanks!


 RSS Feed