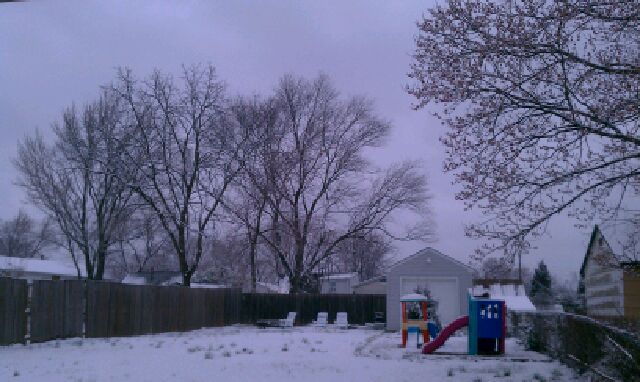
Our Own Winter Wonderland
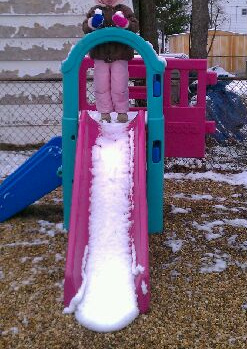
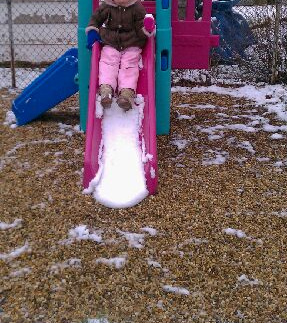
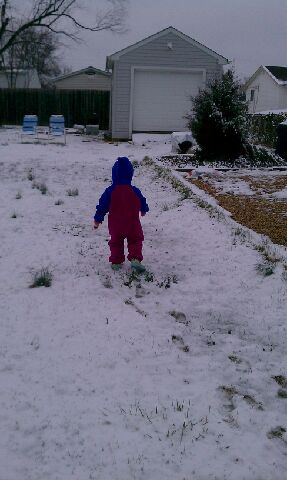
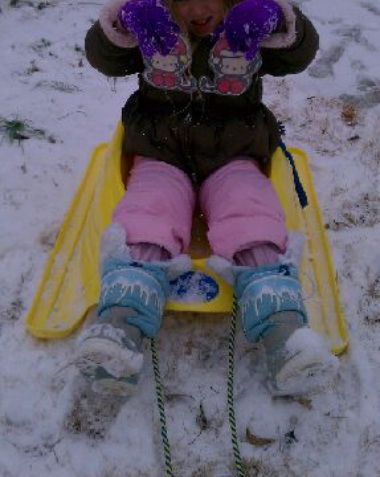 Sweet Girl with Sugar n Spice ready for a ride! | 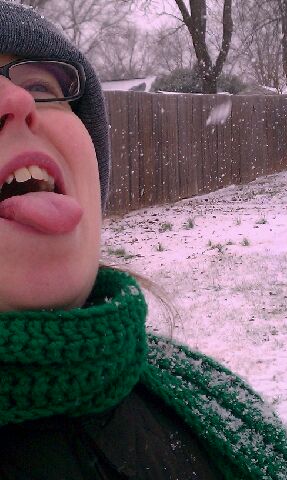 Snowflake catching contest!! |
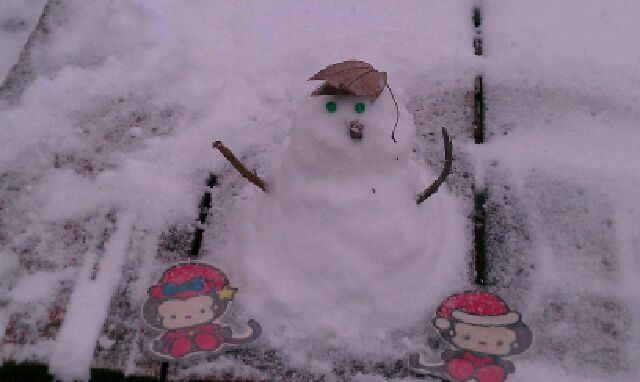
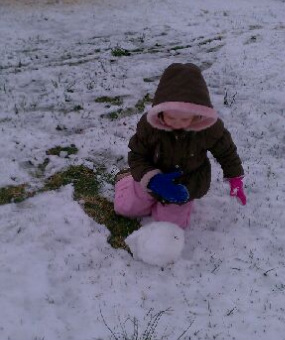
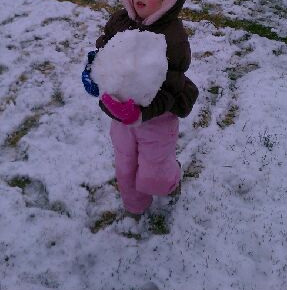
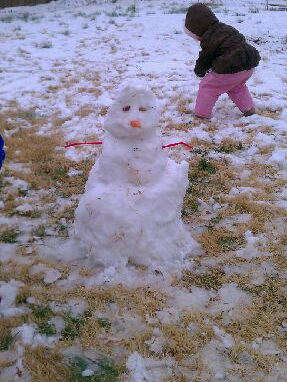
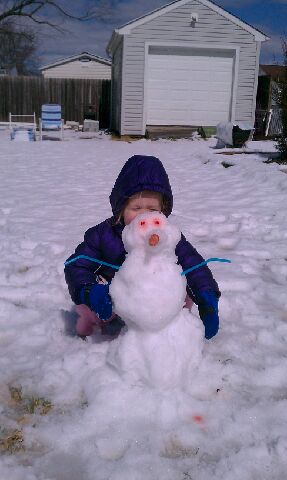
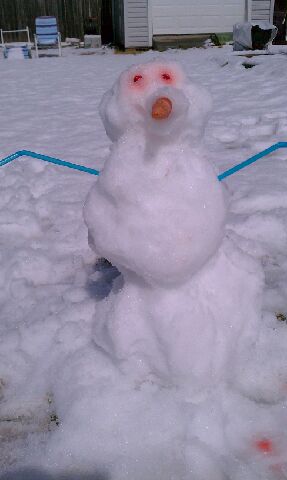
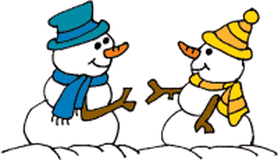
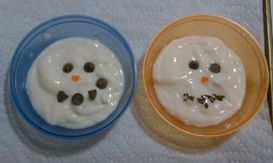
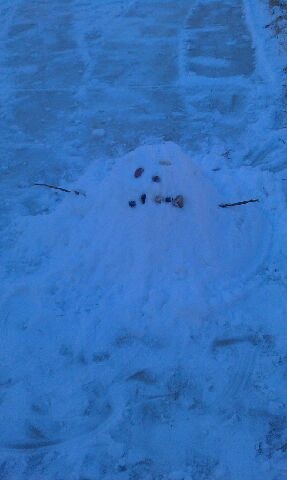
Sugar n Spice with our little snowman. Snow wasn't good packing snow.
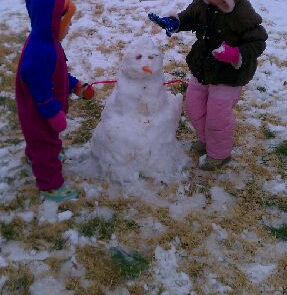
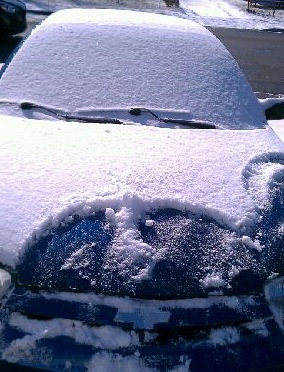
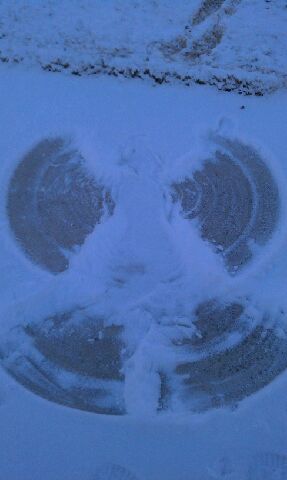
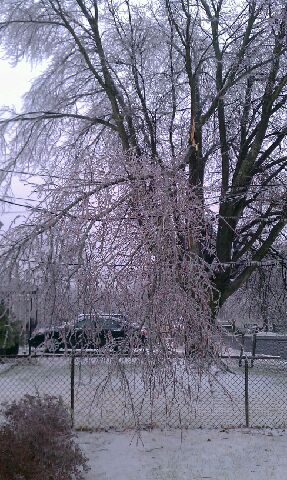 Then, came the ice. Neighbor's branch on our electrical wire! |  More snow the next day. Meet Snow Elephant! |
**All photos and text are property of Angela Pounders and can not be distributed without permission.
If you share one of my posts, please include a link to my page. Thanks!


 RSS Feed