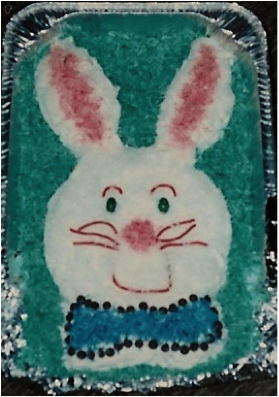
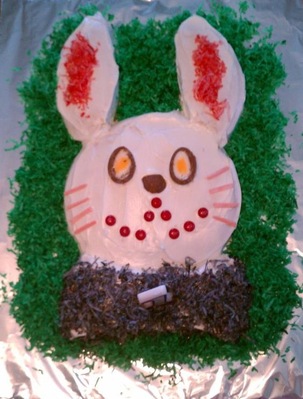
Easter Cooking
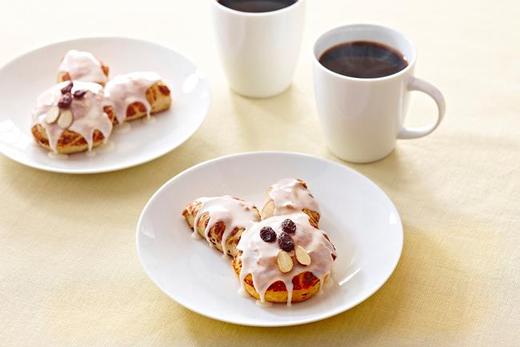
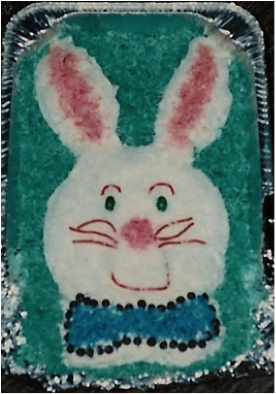
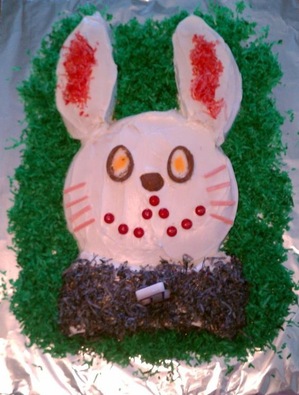
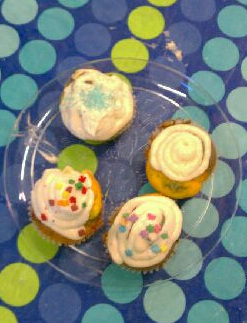
Cinnamon Roll Bunny Faces
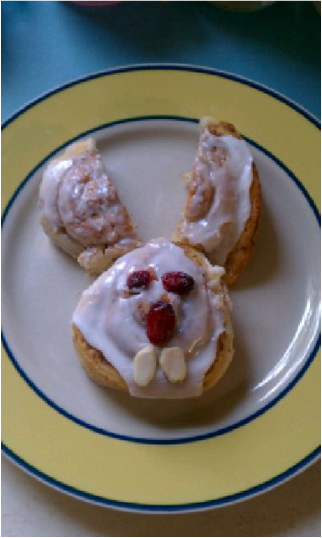
We used dried cranberries instead of raisins.
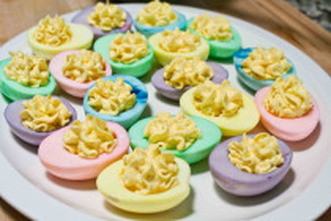
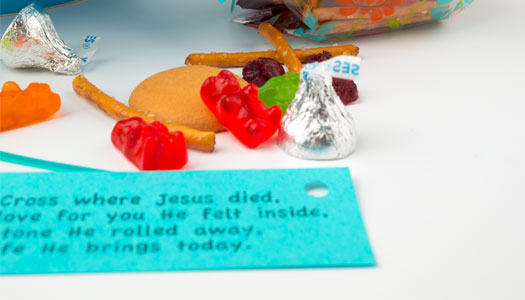
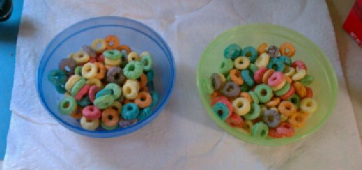
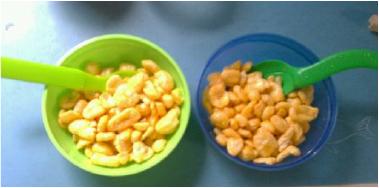
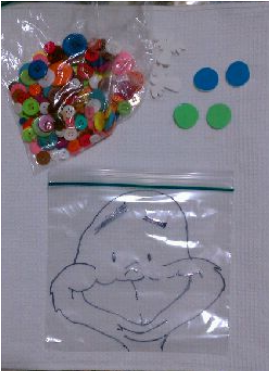
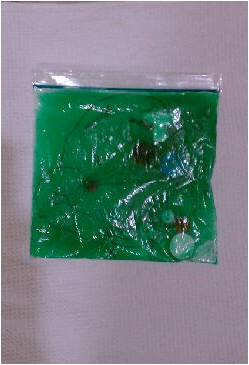
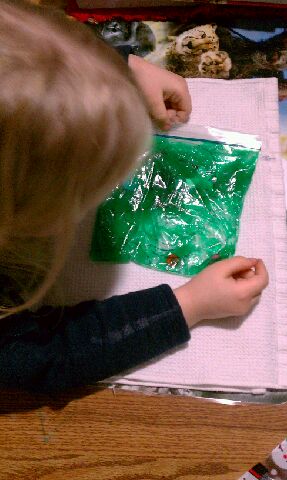
Easter Story Snack Mix
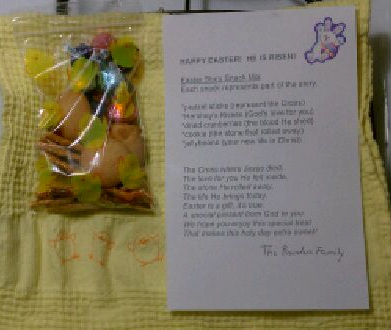
We used these as an outreach to our neighbors.
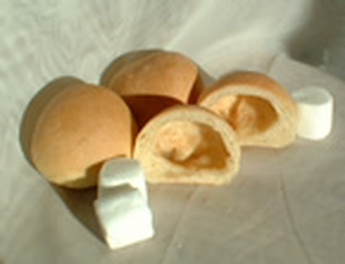
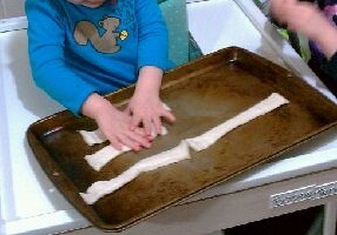
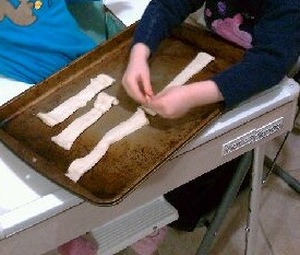
Empty Tomb Buns
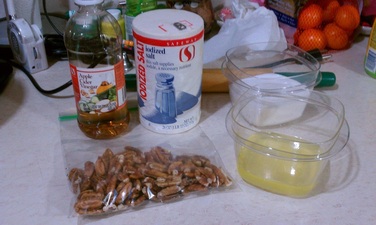
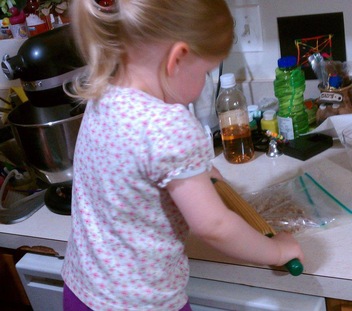
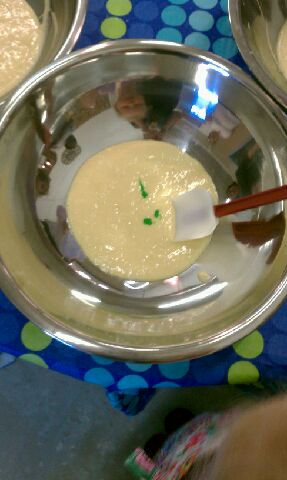
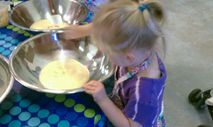
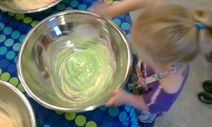
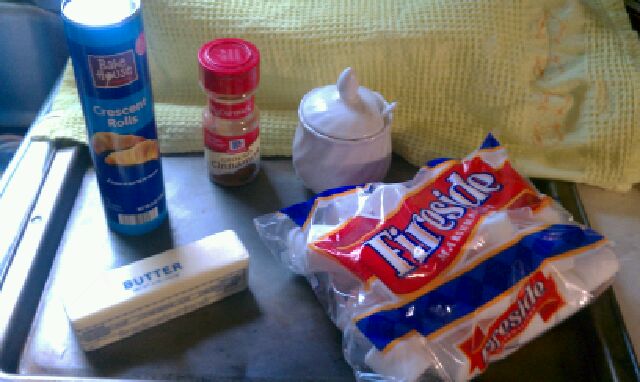 Simple ingredients. 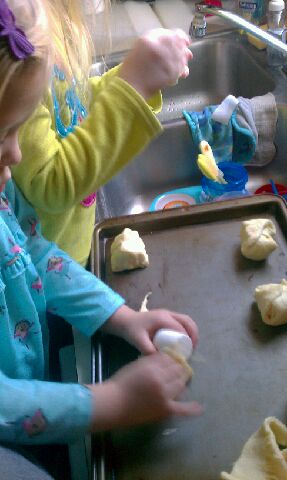 The girls worked hard to completely cover the marshmallows. | 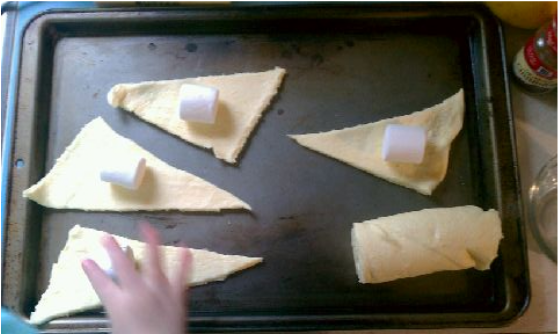 Putting the marshmallows on the rolls. 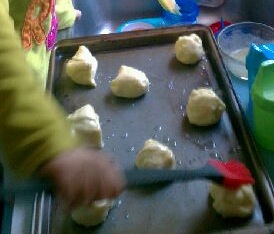 Sweet Girl brushing her rolls with butter. 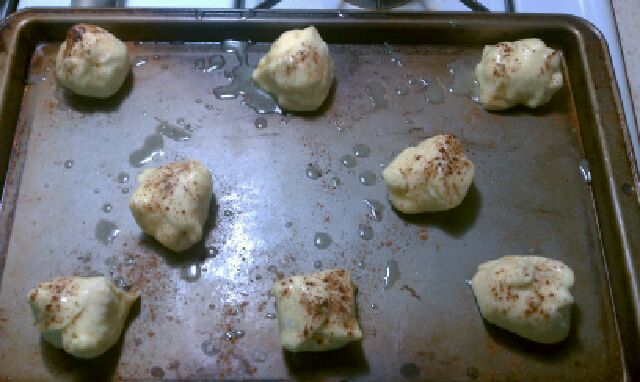 Our "tombs" ready for the oven. |
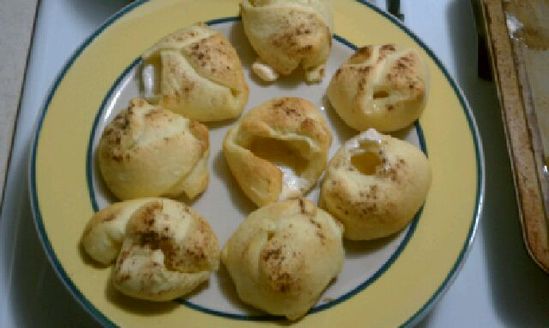
Empty tomb rolls fresh from the oven. So tasty!
Resurrection Cookies
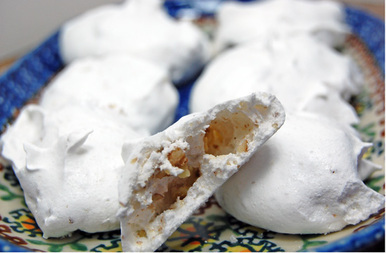
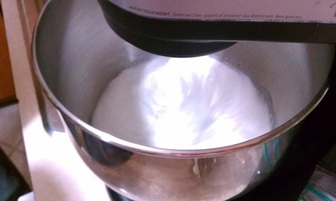
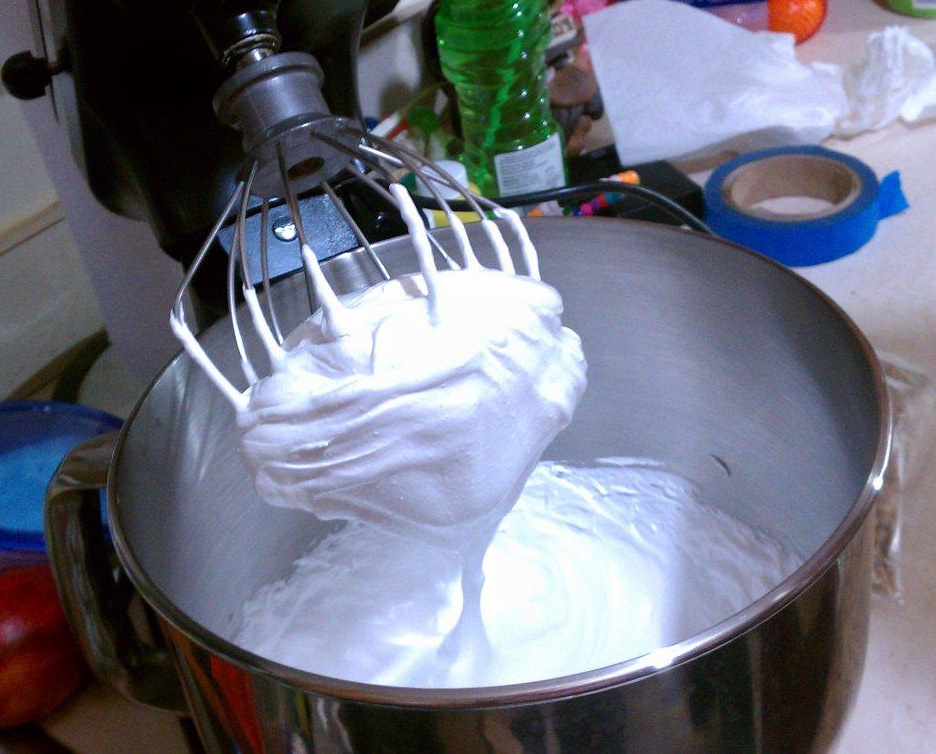
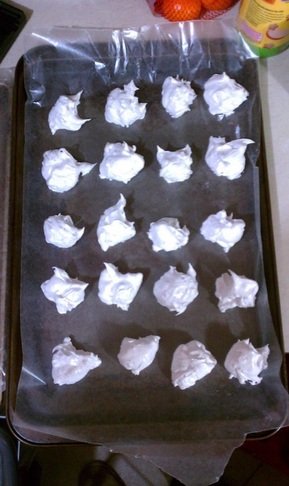
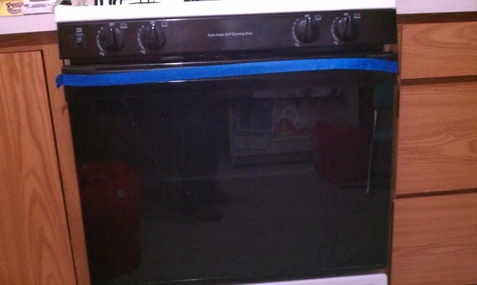
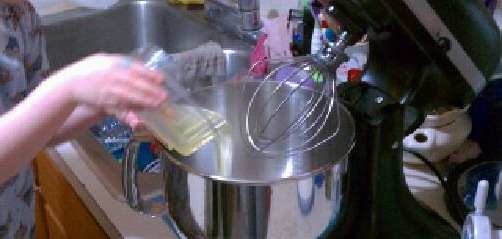 Sweet Girl pouring in the egg whites.  Cookies ready for the oven. 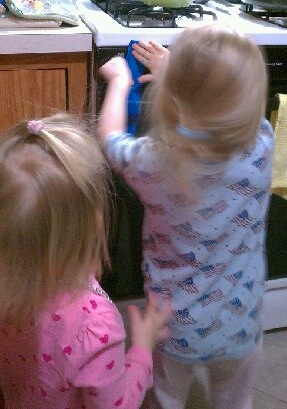 Sweet Girl symbolically taping the oven shut just as they sealed Jesus' tomb with the large stone. | 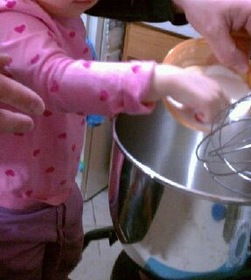 Love Bug scooping in the sugar with Daddy. 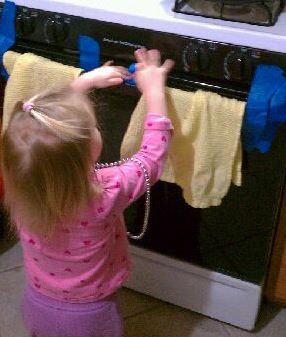 Love Bug's turn with the tape. 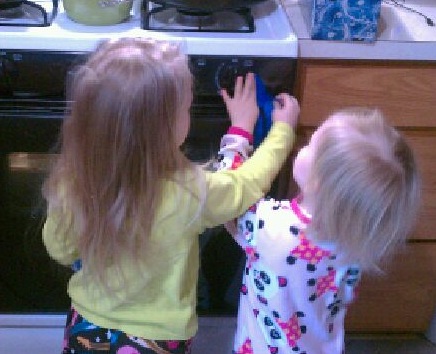 "Unsealing" the oven Easter morning to find the cookies.... |
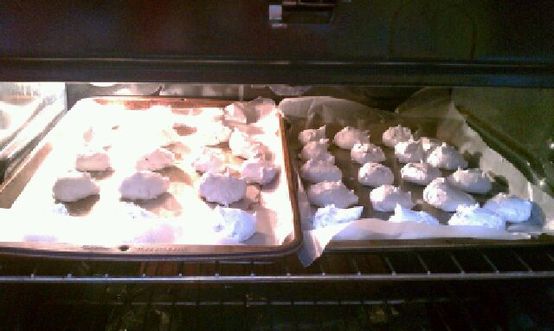
...hollow--just like Jesus' tomb was found Easter morning.
**All photos and text are property of Angela Pounders and can not be distributed without permission.
If you share one of my posts, please include a link to my page. Thanks!


 RSS Feed